
Master bar menu design: 5 steps to boost sales
- Abhi Bose
- Mar 31
- 8 min read

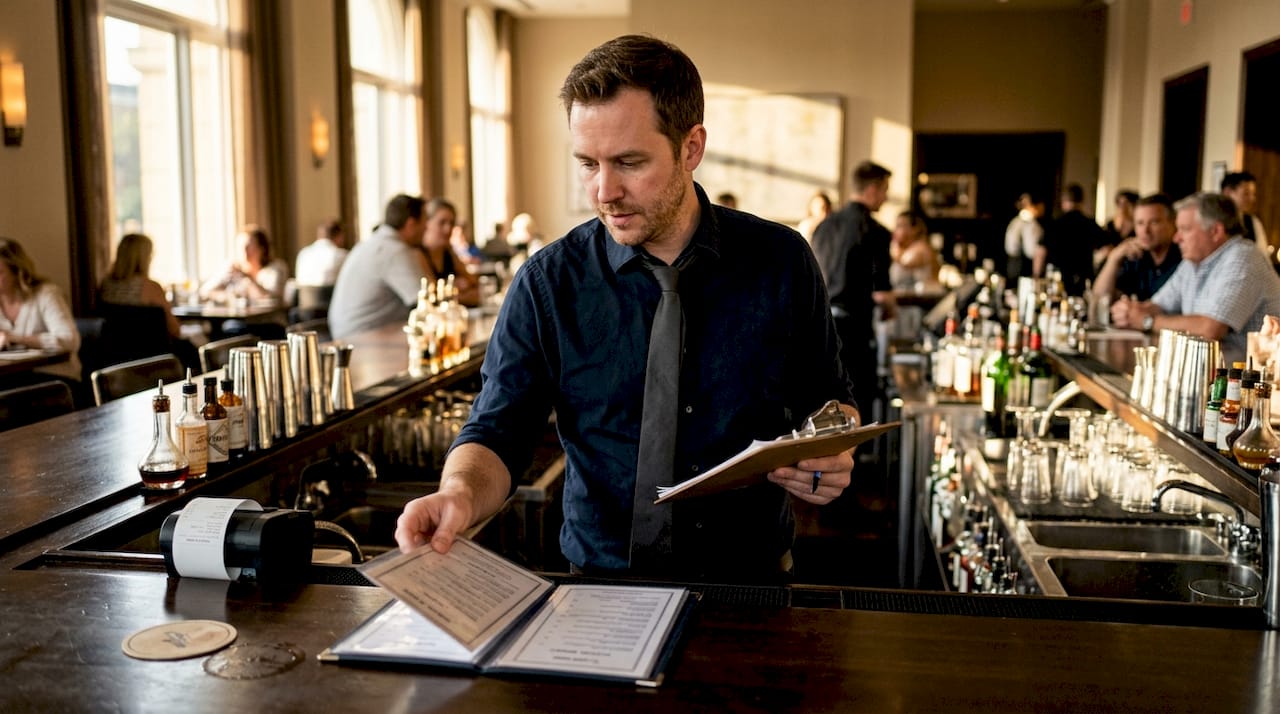
A guest settles into a barstool, picks up your menu, and freezes. Too many options, no clear categories, and descriptions that read like a grocery list. Within seconds, they default to “just a beer” instead of the signature cocktail that earns you three times the margin. That moment costs you revenue every single night. A well-designed bar menu is not just a list of drinks; it is a silent salesperson working every shift. This article walks you through exactly how to build a bar menu that guides guests, ignites curiosity, and turns browsers into buyers.
Table of Contents
Key Takeaways
Point | Details |
Preparation matters | Start with clear goals and detailed information about your offerings before designing your bar menu. |
Use stepwise design | Follow a structured approach, from layout to testing, for more engaging and effective menus. |
Avoid clutter | Keep your menu focused and visually appealing to enhance guest satisfaction and sales. |
Continuous improvement | Regularly monitor and refine your menu based on real sales and feedback. |
Digital tools save time | Digital menu platforms make updating and managing bar menus easier and more efficient. |
What you need to prepare before designing your bar menu
Preparation is the foundation that separates a forgettable menu from one that genuinely moves product. Before you open a design tool or sketch a layout, you need a clear picture of what you are working with and what you want to achieve. Menu engagement strategies consistently show that preparation drives 15% better engagement, and that number is hard to ignore.
Start by auditing your current offerings. Pull your sales data and identify which items sell well, which sit untouched, and which generate the highest profit margins. This is your raw material. You want to feature your stars prominently and quietly retire the underperformers.
Next, gather visual inspiration. Study menus from bars and hotels you admire. Notice how they organize categories, use white space, and guide the eye. You are not copying; you are training your instincts for what works.
Finally, define your goals before a single design decision is made. Are you trying to increase average check size? Highlight seasonal specials? Reduce ordering time during peak hours? Your goals will shape every choice that follows.
Key preparation checklist:
Audit all current bar offerings and pull 90-day sales data
Identify your top 5 highest-margin items
Research 3 to 5 competitor or aspirational menus for inspiration
Define 1 to 3 clear design goals
Profile your core guest: age range, taste preferences, spending habits
Confirm brand guidelines: colors, fonts, logo usage
Preparation priorities at a glance:
Preparation task | Why it matters | Time needed |
Sales data audit | Reveals what to feature and what to cut | 1 to 2 hours |
Competitor research | Builds design intuition | 2 to 3 hours |
Goal setting | Aligns design with business outcomes | 30 minutes |
Guest profiling | Ensures menu speaks to your audience | 1 hour |
Brand guideline review | Keeps design consistent | 30 minutes |
Understanding your audience is especially critical. A rooftop hotel bar serving business travelers needs a different tone and structure than a neighborhood cocktail lounge. Knowing who sits across from your menu shapes everything from font size to the language used in descriptions. Investing time in boosting guest engagement starts here, long before the design phase begins.
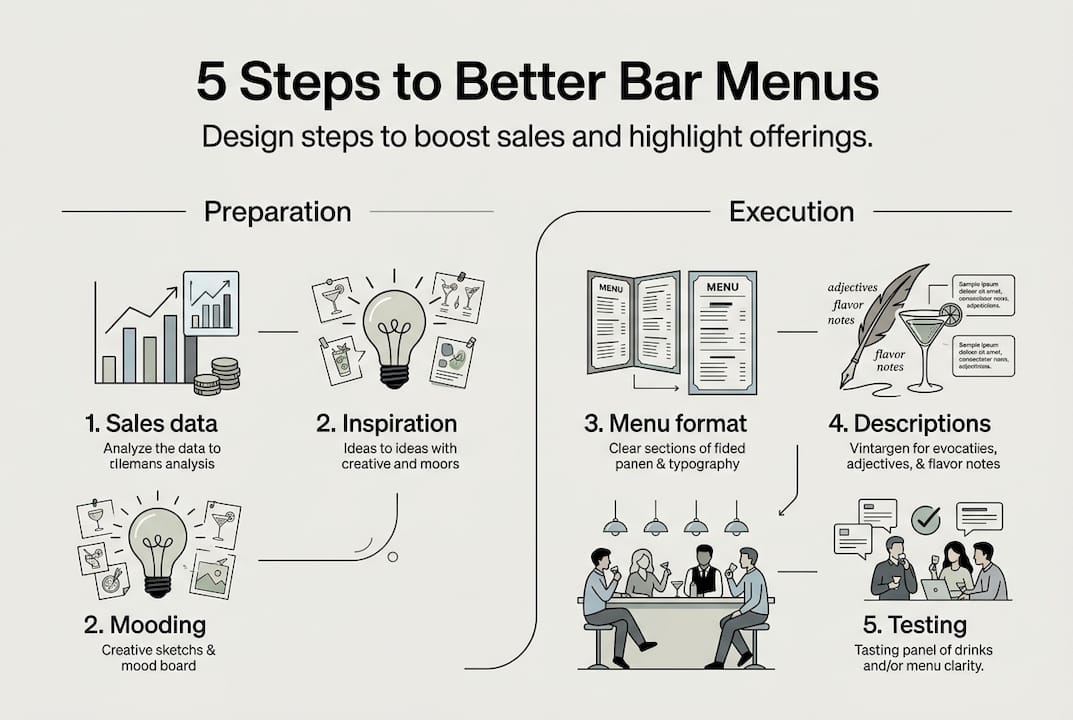
Step-by-step bar menu design process
Once preparations are complete, it is time to execute each design step with intention. Think of this process as building a stage where every drink gets its moment to shine.
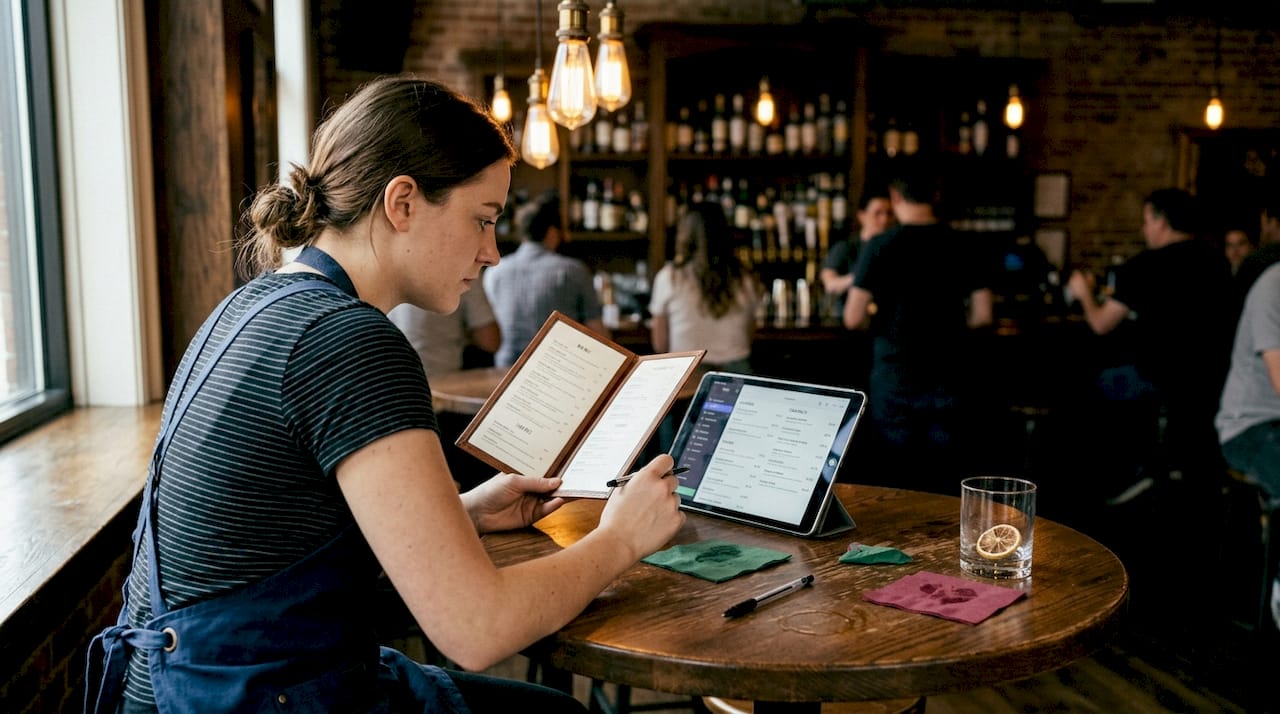
Step 1: Choose your menu format. Decide whether you will use printed menus, a digital tablet menu, a QR code menu, or a combination. Each format has trade-offs. Printed menus feel tactile and premium but are costly to update. Digital menus boost engagement and streamline ordering, making updates instant and effortless. For most bars and hotels in 2026, a hybrid approach works well: QR menus for speed, tablets for tableside upselling.
Step 2: Organize by category with a clear hierarchy. Group items logically: cocktails, spirits, wine, beer, and non-alcoholic options. Within each category, lead with your most profitable or signature items. Guests read menus in a predictable pattern, often scanning the top-right area first, so place your high-margin items there.
Step 3: Write descriptions that sell. Avoid flat, ingredient-only descriptions. Instead of “Vodka, lime, ginger beer,” try “A crisp Moscow Mule with house-made ginger syrup and a squeeze of fresh lime, served over hand-chipped ice.” Sensory language triggers desire. Keep descriptions under 20 words to maintain readability.
Step 4: Apply brand-consistent visuals and typography. Use your brand colors intentionally. Limit yourself to two fonts: one for headings, one for body text. High-quality photography or illustrations can elevate perceived value, but only use images you can reproduce consistently. Explore digital menu layouts for inspiration on how leading bars structure their visual hierarchy.
Step 5: Test before you launch. Share your draft with three to five staff members and ask them to find a specific drink in under 10 seconds. If they struggle, your layout needs work. Also test on mobile screens if you are using a QR format. For a practical walkthrough on building your first digital version, the guide on creating digital bar menus is a strong starting point.
Printed vs. digital menu comparison:
Feature | Printed menu | Digital menu |
Update speed | Days to weeks | Instant |
Visual richness | Limited | High (video, animation) |
Cost per update | High | Low |
Guest interaction | Passive | Interactive |
Analytics available | None | Real-time data |
Pro Tip: Place your two or three highest-margin cocktails in a visually distinct “featured” section at the top of your menu. A simple border or a different background color draws the eye and can increase orders for those items by a noticeable margin without any additional staff effort.
Applying solid menu design principles at every step ensures your menu does not just look good; it actively works to grow your revenue.
Typical mistakes and troubleshooting in bar menu design
After designing your bar menu, be aware of these common pitfalls and remedies. Even well-intentioned menus can quietly sabotage sales if certain errors go unchecked.
The most common bar menu mistakes:
Overcrowding: Listing 80 cocktails feels impressive but overwhelms guests. Research on decision fatigue shows that too many choices lead to fewer orders. Aim for 20 to 30 focused options.
Weak visual hierarchy: If everything looks equally important, nothing stands out. Use size, color, and placement to guide the eye toward your best items.
Inconsistent branding: Mixing fonts, colors, or tones across sections makes your menu feel unprofessional and erodes guest trust.
Pricing errors or typos: A mispriced item or a spelling mistake signals carelessness. Always proofread with fresh eyes, ideally someone who did not write the copy.
Ignoring staff input: Your bartenders and servers know which questions guests ask most often. Their feedback is gold for refining descriptions and layout.
Failing to update seasonally: A menu featuring a summer sangria in January tells guests you are not paying attention.
Digital layouts help avoid menu clutter and improve visibility of your best offerings, making it far easier to keep content fresh and organized. Exploring bar menu layout tips can help you spot structural issues before they reach your guests.
“A menu that confuses is a menu that loses. Clarity is not just a design value; it is a revenue strategy.”
Pro Tip: After launching a redesigned menu, schedule a 30-minute debrief with your bar team after the first weekend of service. Ask what questions guests asked most. Those questions reveal exactly where your menu is unclear, and fixing them is usually a quick win.
For bars and hotels considering a broader operational shift, digitalizing restaurant menus offers a compelling case for why going digital solves many of these structural problems at the root level.
Verifying menu effectiveness and continuous improvement
Understanding how your menu performs completes the design cycle and drives lasting improvements. A menu is never truly finished; it is a living document that should evolve with your guests and your business.
How to measure and improve your bar menu:
Track item-level sales weekly. Your POS system holds the truth. Which items are ordered most? Which are ignored? Sales velocity tells you what is working and what needs repositioning or removal.
Collect guest feedback actively. Use comment cards, post-visit surveys, or digital feedback tools. Ask specifically about menu clarity and whether guests found what they were looking for.
Monitor average check size. If your redesign is working, average spend per guest should trend upward over 30 to 60 days. A flat or declining average check is a signal to revisit your featured items and descriptions.
A/B test layout changes. If you use a digital menu, try rotating which items appear in your featured section and compare sales over two-week periods. Small placement changes can produce surprising results.
Review and refresh quarterly. Regularly updating menus leads to higher guest satisfaction and repeat business, making quarterly reviews a non-negotiable habit for high-performing bars.
Statistic to keep in mind: Bars that actively track menu performance and update offerings based on data report up to 20% higher repeat visit rates compared to those that treat their menu as a static document.
Digital tools make this cycle dramatically easier. Platforms that support streamlining ordering workflow give you real-time visibility into what guests are ordering and how they are navigating your menu. Pairing that with digital table ordering methods creates a feedback loop that printed menus simply cannot match. The result is a menu that gets smarter with every service.
Explore digital solutions to elevate your bar menu
You now have a clear roadmap for designing, launching, and refining a bar menu that genuinely performs. The next step is choosing tools that make execution faster and results more measurable. Digital menu platforms transform the process from a periodic print project into a dynamic, data-driven experience.
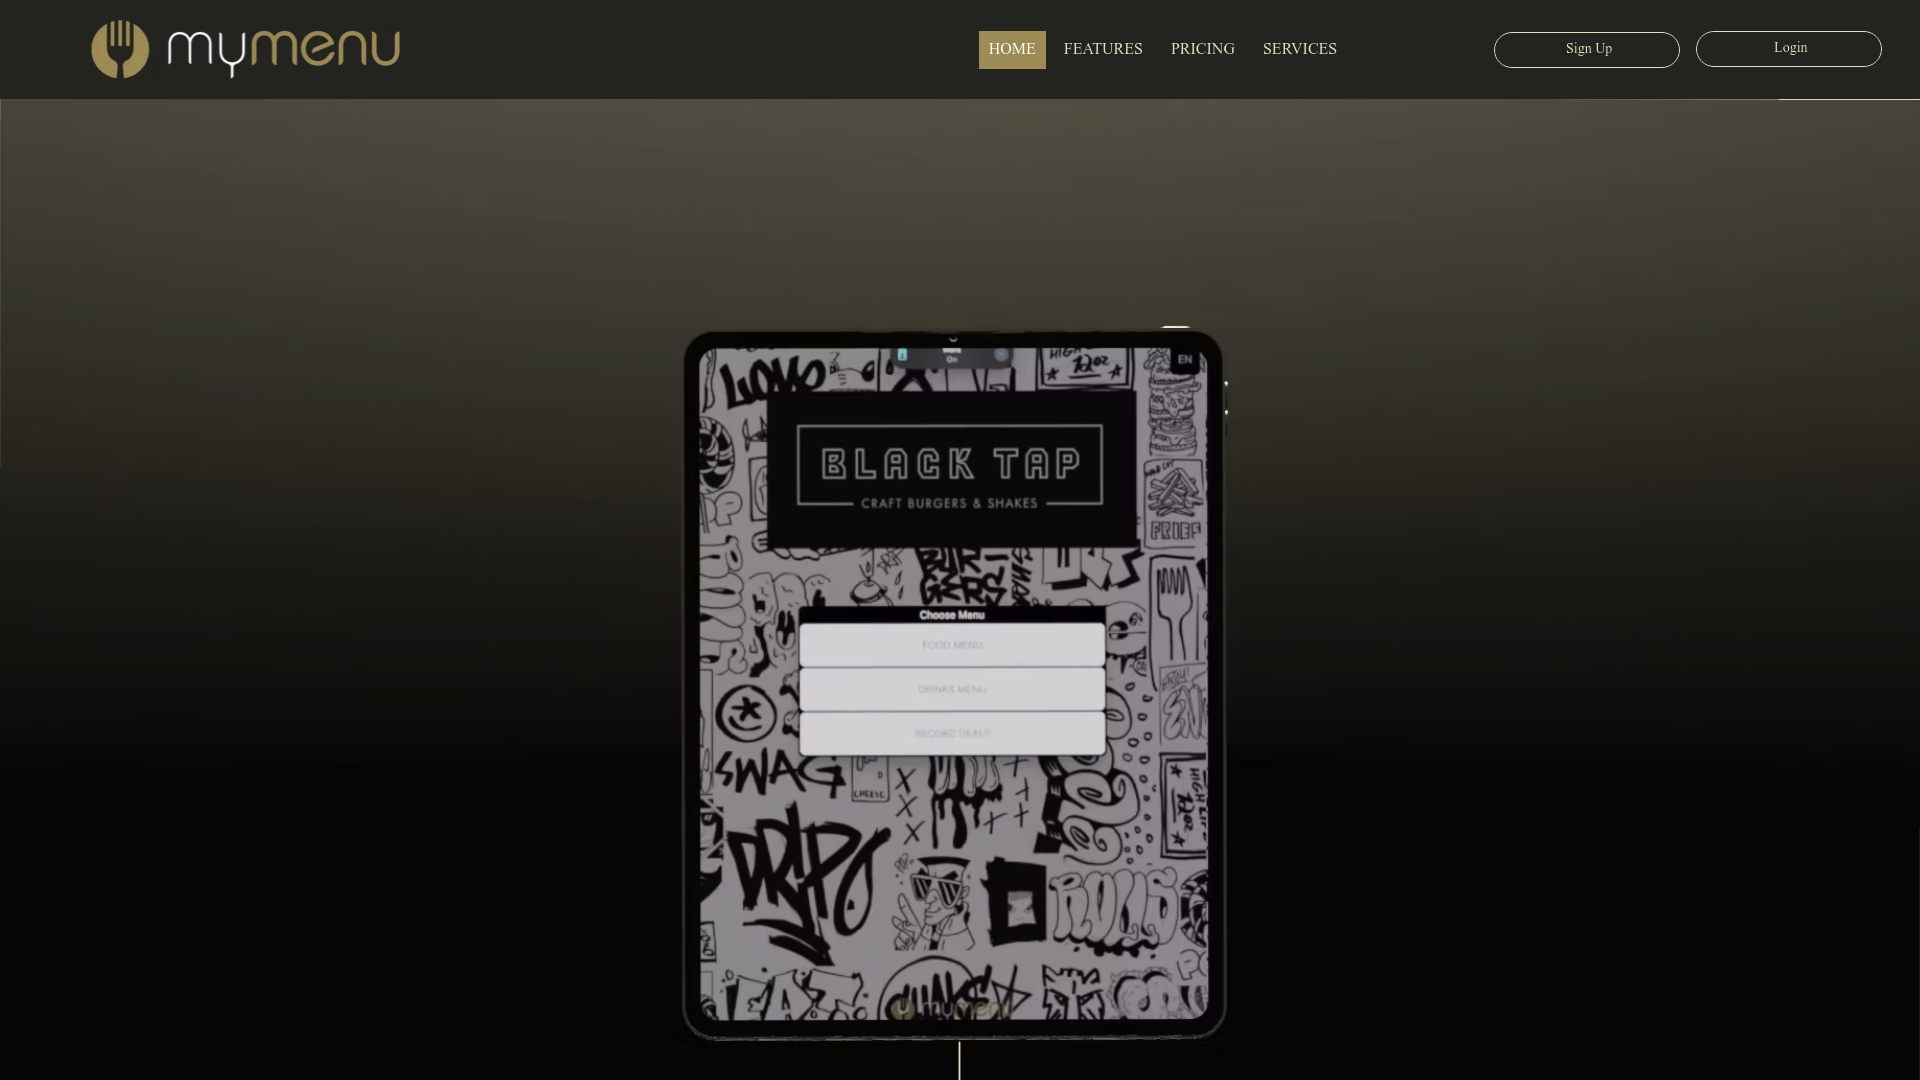
MyDigiMenu.com empowers bar and beverage managers to build stunning, intuitive menus without needing a design team. With tablet menu solutions for tableside engagement, a powerful QR menu generator for contactless browsing, and fully customizable digital bar menus that update in seconds, the platform puts you in control of every guest interaction. Real-time analytics, multilingual support, and seamless POS integration mean your menu works as hard as your team does. A dash of digital truly can turn everyday service into extraordinary memories.
Frequently asked questions
What is the most important step in designing a bar menu?
Setting clear goals and understanding your guest preferences are the foundation of a successful bar menu. Preparation drives engagement and ensures every design decision serves a business purpose.
How can digital bar menus improve guest engagement?
Digital bar menus allow for instant updates, dynamic visuals, and interactive elements that make browsing feel like an adventure. Digital menus boost engagement and streamline the ordering process, reducing wait times and increasing average spend.
What are some common mistakes to avoid in bar menu design?
Avoid overcrowding your menu with too many options and ensure your layout reflects consistent branding throughout. Digital layouts reduce clutter and make it easier to highlight your most profitable items.
How often should I review and update my bar menu?
Review your menu quarterly or whenever guest feedback or sales data signals a shift in preferences. Regular menu updates directly correlate with higher guest satisfaction and stronger repeat business.
Recommended
Comments