
How to Set Up Apple Pay in Your Restaurant's Digital Menu


Yes, you can enable Apple Pay inside your restaurant’s QR menu or pay-at-table flow, and the process is more approachable than most operators expect. The core path: create an Apple Merchant ID, generate merchant identity certificates using OpenSSL, verify your domain with Apple’s association file, connect those credentials to a payment gateway (Stripe or Checkout.com), and paste the resulting keys into your digital-menu platform. Restaurants that already have an active domain and a payment processor account typically finish in 1–3 business days. Expect 1–2 weeks if you need new hardware, developer support, or certificate conversion help.
Minimal requirements before you start:
Apple Developer account (with Merchant ID creation permission)
Stripe or Checkout.com business account with API access
Live domain with a valid TLS/SSL certificate
Ability to host or upload the apple-developer-merchantid-domain-association file
Merchant .pem and .key files (generated during setup)
Operators who add Apple Pay prominently to their QR checkout flow report that over 50% of guests shift to contactless payment, along with measurable reductions in chargebacks. That kind of adoption makes the 1–3 day investment worthwhile for almost any venue. For a broader look at restaurant payment solutions before diving in, that context helps frame where Apple Pay fits your overall strategy.
Key Takeaways
Completing an Apple Pay restaurant setup requires five core tasks: Merchant ID creation, domain verification, certificate generation, gateway configuration, and platform credential entry — all achievable in 1–3 business days with the right accounts in place.
Point | Details |
Five core tasks | Apple Merchant ID, domain association file, merchant certificates, gateway config, and platform settings must all be completed in sequence. |
Certificate pairs matter | Your .pem and .key must be generated together; mismatched pairs cause gateway rejections and require starting over. |
Test before going live | Use gateway sandbox mode and a real iPhone to confirm tokenization succeeds before enabling Apple Pay for guests. |
PCI scope remains | Apple Pay tokenization reduces card-data exposure but does not eliminate PCI obligations for systems that touch payment flows. |
Mydigimenu speeds activation | Dedicated dashboard fields for merchant credentials and a built-in domain verification routine reduce setup friction for restaurant operators. |
Table of Contents
What accounts and infrastructure do you need before starting?
How do you create an Apple Merchant ID, verify your domain, and generate certificates?
How do you configure Stripe or Checkout.com to accept Apple Pay?
Where do you enter merchant files and settings in Mydigimenu?
Security, PCI scope, and best practices for restaurant operators
What accounts and infrastructure do you need before starting?
Getting the right accounts and access in place before touching a single certificate file saves hours of frustration mid-setup.
Accounts:
Apple Developer account with permission to create Merchant IDs (individual or organization enrollment, paid annually)
Stripe or Checkout.com business account with admin access and the ability to generate or retrieve API keys
Digital-menu platform account (such as Mydigimenu) with payment settings access
Infrastructure:
A live, publicly accessible domain — no localhost, no staging-only URLs
A valid TLS/SSL certificate on that domain (Let’s Encrypt qualifies)
Ability to upload a single file to /.well-known/ or the domain root, OR access to a platform dashboard field that accepts the association file content
Roles and responsibilities:
Owner/manager: approves Apple Developer enrollment, owns payment processor account, signs off on API key sharing
Developer/IT: runs OpenSSL commands, uploads domain association file, wires client-side and server-side code
Payment admin: retrieves gateway API keys, configures gateway dashboard, monitors test logs
If your team is small and one person covers all three roles, block a focused half-day rather than spreading the work across interruptions.
How do you create an Apple Merchant ID, verify your domain, and generate certificates?
This is the technical core of any Apple Pay restaurant setup. Follow the sequence exactly — skipping a step means the domain verification or certificate exchange will fail.
Create your Merchant ID. Log in to Apple Developer, navigate to Certificates, IDs & Profiles → Merchant IDs, and click the add button. Use a reverse-domain identifier pattern: merchant.com.yourbusiness.production. Save the Merchant ID string — you will paste it into your gateway and platform dashboards.
Generate a CSR and private key locally. Open a terminal and run:
When prompted for a password, leave it blank — Apple requires an unencrypted private key for this CSR. Keep merchant.key somewhere secure immediately.
Upload the CSR to Apple and download the certificate. Inside your Merchant ID record in Apple Developer, click Create Certificate, upload merchant.csr, and download the resulting merchant_id.cer.
Convert .cer to .pem. Run:
You now have certificate.pem and merchant.key — the pair your gateway and platform will ask for.
Add and verify your domain. Inside the same Merchant ID record, go to Merchant Domains, add your domain, and download the apple-developer-merchantid-domain-association file Apple provides. Host it at https://yourdomain.com/.well-known/apple-developer-merchantid-domain-association (no file extension), then click Verify in Apple Developer. The status should flip to Verified within seconds.
openssl req -newkey rsa:2048 -keyout merchant.key -out merchant.csr
openssl x509 -inform DER -in merchant_id.cer -out certificate.pem
Pro Tip: Save merchant.key in a password manager the moment you generate it. Apple will never re-issue the same private key — if you lose it, you must start the certificate process over.
How do you configure Stripe or Checkout.com to accept Apple Pay?
The gateway configuration differs meaningfully between Stripe and Checkout.com, so follow the right path for your processor.
Stripe
In the Stripe Dashboard, go to Settings → Payment Methods → Apple Pay.
Register your domain — Stripe handles the domain association file automatically for Stripe.js integrations, but for custom implementations you must add the domain manually.
Use your Stripe secret key server-side to create a PaymentIntent with payment_method_types: ['card'] (Stripe treats Apple Pay tokens as card payments).
On the client side, initialize a Stripe Payment Request Button, which wraps the ApplePaySession API.
Checkout.com
The Checkout.com Apple Pay process reverses CSR ownership: Checkout.com generates a CSR for you to download from its dashboard, you upload that CSR to Apple Developer to create a Merchant Identity Certificate, download the resulting .cer, and upload it back to Checkout.com. Add your merchant domain in both Apple Developer and the Checkout.com dashboard, then verify.
Key fields your platform will request
Field | What to enter |
Merchant ID | The reverse-domain string from Apple Developer (e.g., merchant.com.yourbusiness.production) |
Merchant Name | Your restaurant’s display name as guests will see it |
Merchant Domain | Your domain without https:// or www. |
Domain association file | Full text content of the apple-developer-merchantid-domain-association file |
.pem certificate | Full text content of certificate.pem |
.key private key | Full text content of merchant.key |
Public API key | Gateway publishable/public key (safe for client-side use) |
Secret API key | Gateway secret key (server-side only — never expose this) |
Testing: switch your gateway to test/sandbox mode, run a simulated Apple Pay authorization from a supported iPhone on your live domain, and confirm the gateway logs show a successful tokenization entry. Verify the domain shows Verified in Apple Developer before testing on a real device.
Where do you enter merchant files and settings in Mydigimenu?
Mydigimenu’s payment settings dashboard includes dedicated fields for every credential the Apple Pay flow requires, which removes the need to edit server config files manually.
Merchant ID field: paste the full reverse-domain identifier string
Merchant Name field: your restaurant’s display name
Merchant Domain field: domain only, no protocol or trailing slash
Domain association file field: paste the full text content of the Apple-provided file (Mydigimenu supports both the paste-in method and direct file hosting — confirm which your plan uses before modifying your web server)
Certificate (.pem) field: paste the full content of certificate.pem
Private key (.key) field: paste the full content of merchant.key
After saving, the platform’s verification status will show Pending. Trigger the domain verification routine from the dashboard, and the status updates to Verified once Apple’s servers confirm the association file is reachable. Use Mydigimenu’s staging or test environment to run the full flow before switching to live keys.
Pro Tip: Store your original .key and .pem files in a dedicated secure vault (1Password or Bitwarden work well for small teams) with a note on the certificate expiry date — Apple merchant certificates expire annually.
Developer checklist: client-side and server-side wiring
For teams building a custom checkout layer on top of their QR menu, here is the integration sequence.
Check device capability. Before showing the Apple Pay button, call ApplePaySession.canMakePayments(). If it returns false, fall back to a card form or other payment method.
Initialize the session. Create an ApplePaySession with your payment request object (amount, currency, merchant identifier, supported networks).
Validate the merchant server-side. Apple calls your onvalidatemerchant endpoint; your server must call Apple’s validation URL using your .pem and .key, then return the session object to the client.
Handle payment authorization. On onpaymentauthorized, send the encrypted payment token to your server. Server-side, pass the token to Stripe (PaymentIntent confirm) or Checkout.com’s token endpoint using your secret API key only.
Respond to the client. Return ApplePaySession.STATUS_SUCCESS or STATUS_FAILURE based on the gateway response.
Security rule: never log the full payment token or expose your gateway secret key in client-side code. All token processing happens server-side over TLS. Restrict your merchant validation endpoint so only your platform’s origin can call it — an open endpoint is an attack surface.
For a practical reference showing Apple Pay wired into a TypeScript/Node.js/React ordering stack, the wyldpay project on GitHub demonstrates the file structure and front-end hooks developers typically implement.
Security, PCI scope, and best practices for restaurant operators
Apple Pay replaces the card number with a device-specific token (a Device Account Number), so your restaurant never sees the raw PAN. That meaningfully reduces card-data exposure. However, as noted in PCI DSS 4.0 compliance guidance, tokenization does not fully remove PCI obligations — any system that touches payment flows, stores order metadata, or sits on the same network segment as payment processing still falls within PCI scope.
Practical controls for small restaurants:
Limit .key file and gateway secret key access to one or two named staff members
Rotate API keys immediately if a staff member with access leaves
Keep your digital-menu platform and any connected POS on current software versions — outdated TLS versions are a common audit failure
Segment your payment network from your guest Wi-Fi
Pro Tip: Run an annual review of who has access to your gateway dashboard and Apple Developer account. Revoke access for former employees the same day they leave — credential hygiene is the single most overlooked control in small restaurant operations.
How to test Apple Pay and fix the common problems
Testing checklist
Confirm domain status shows Verified in Apple Developer
Switch gateway to sandbox/test mode and generate a test API key pair
Open your QR menu on a supported iPhone (Face ID or Touch ID device, Safari browser)
Complete a test transaction and confirm the gateway sandbox logs show a tokenization success entry
Switch to live keys and run one real-device authorization with a small amount before going live
Common errors and fixes
Domain still Pending: the association file is missing, at the wrong path, or served with the wrong content type. Confirm it is accessible at /.well-known/apple-developer-merchantid-domain-association with no file extension and no redirect.
Certificate mismatch: you uploaded a .pem that does not match the .key you generated. Regenerate both from scratch as a matched pair.
Gateway rejects token: check whether you are mixing test and live API keys — a live token sent to a sandbox endpoint (or vice versa) always fails.
CORS or HTTPS errors: your merchant validation endpoint must be served over HTTPS and must return the correct CORS headers for your menu domain’s origin.
Before contacting support, collect: the exact error message from gateway logs, the domain verification status screenshot from Apple Developer, and the browser console output from the failed session. Both Stripe and Checkout.com support teams will ask for these immediately.
How long does setup take and what does it cost?
Most restaurants complete the Apple Pay restaurant setup in 1–3 business days when accounts and a live domain are already in place. Add 1–2 weeks if you need a developer for custom integration or if hardware procurement is involved.
Budget checklist:
Apple Developer annual fee
Gateway account (setup is typically free; fees are per transaction)
Developer hours if your team does not have in-house technical capacity
Platform subscription and any applicable transaction fees
Hardware if your venue needs NFC-capable terminals for in-person acceptance
The role of online food ordering in guest expectations has shifted significantly — offering Apple Pay is increasingly a baseline expectation rather than a differentiator.
Why Apple Pay belongs in every restaurant’s digital menu
Adding Apple Pay to a QR or pay-at-table flow is one of the highest-return configuration changes a restaurant can make. The guest experience improvement is immediate: no card fumbling, no PIN entry, and a checkout that completes in under three seconds. Faster checkout means faster table turns, and the tokenized payment model means lower chargeback exposure compared to manual card entry.
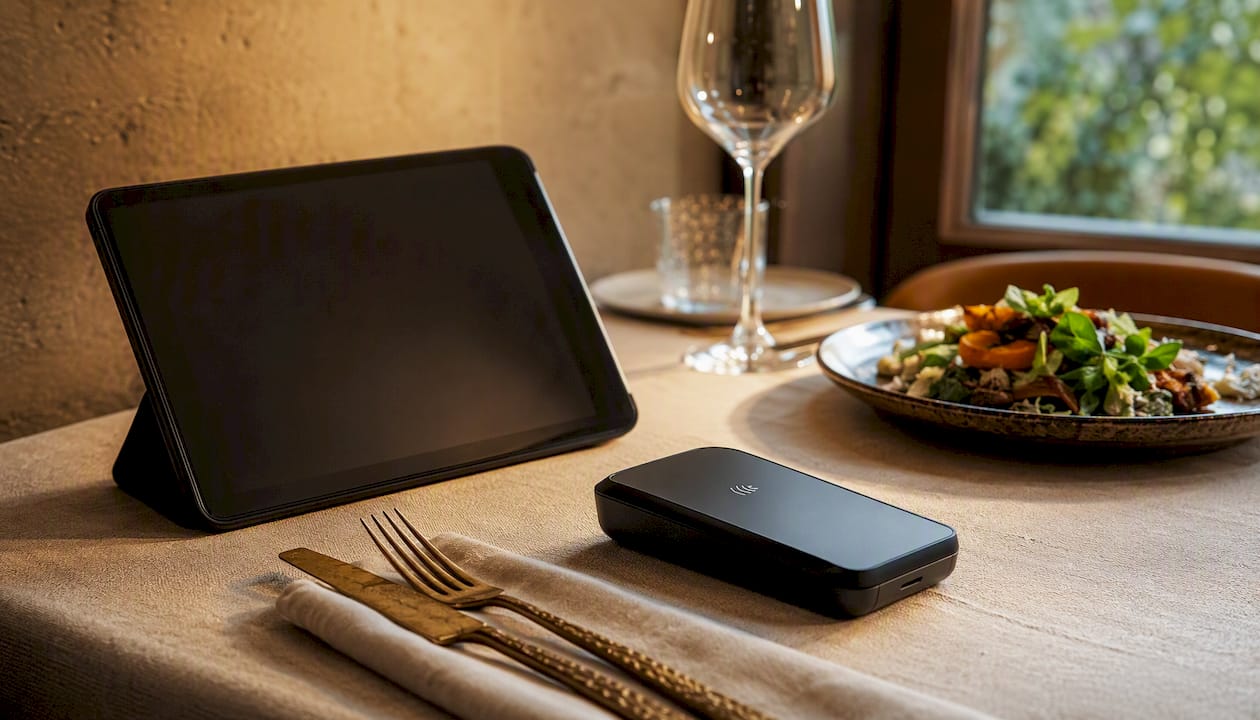
The recommendation here is to pilot on two or three tables first. Configure Apple Pay in your platform’s test environment, run real-device tests with your own phone, and gather a week of live transaction data before rolling out across the full venue. That staged approach catches edge cases — a mismatched certificate, a domain that needs a path correction — before they affect a busy Friday service. Once the pilot tables show clean transaction logs and guest feedback is positive, scaling to the full floor takes minutes, not days.
Mydigimenu makes your Apple Pay setup faster
Mydigimenu’s payment dashboard is purpose-built for exactly this workflow. Dedicated fields for your Merchant ID, .pem certificate, .key file, and domain association content mean you paste credentials once and the platform handles the rest. The built-in domain verification routine, test/sandbox mode, and transaction reporting let you confirm everything works before a single guest sees the Apple Pay button.
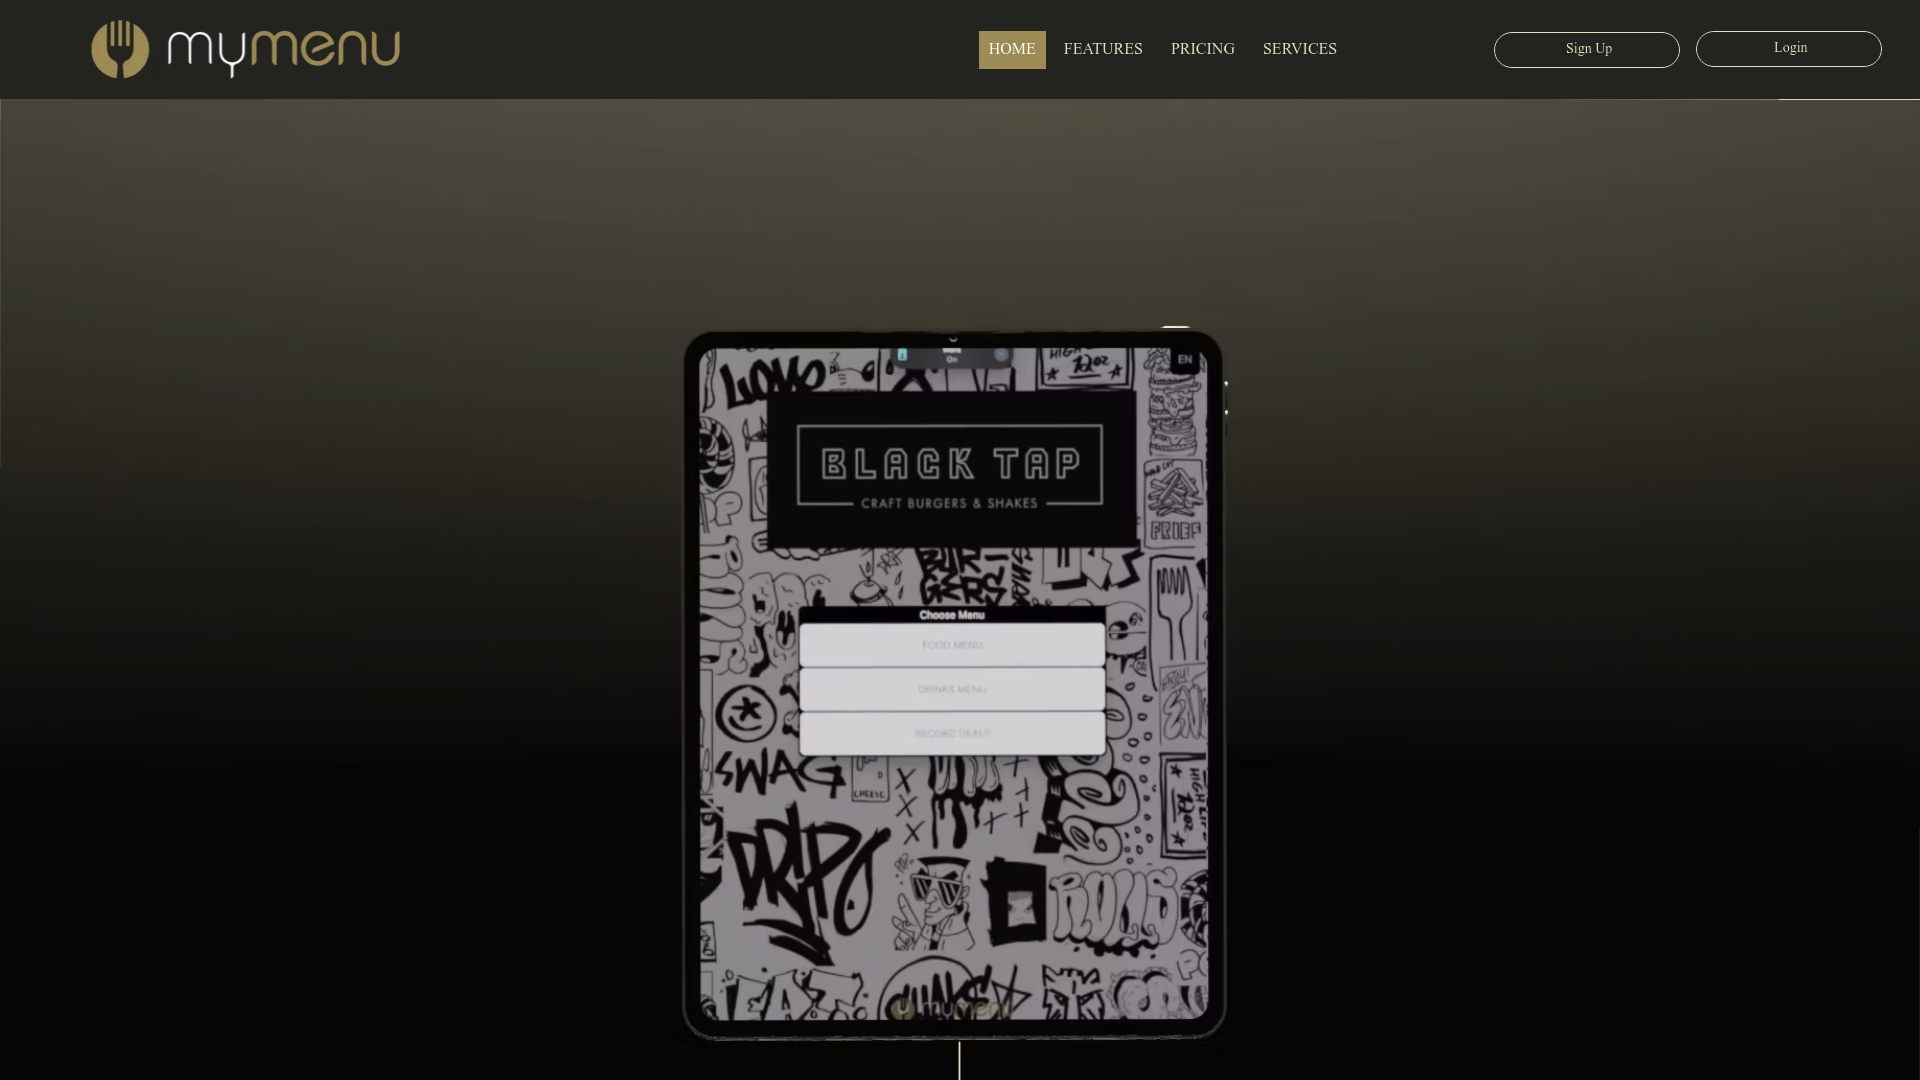
Restaurants using Mydigimenu’s QR menu platform can activate Apple Pay without touching server config files or writing custom validation endpoints. The platform’s support documentation walks through each certificate step, and the staging environment lets you verify the full token exchange before going live. If you are also managing reservations alongside your pay-at-table flow, Mydigimenu’s table management tools connect both workflows in one dashboard. Visit the Mydigimenu pricing page to find the plan that fits your venue and get started today.
Authoritative documentation and where to get help
Apple Developer — Create a Merchant ID: the authoritative source for Merchant ID creation, domain verification, and the domain association file download process.
OpenSSL documentation: reference for generating CSR/key pairs and converting .cer files to .pem format using command-line tools.
wyldpay on GitHub: a practical open-source reference showing Apple Pay integrated into a TypeScript/Node.js/React QR food-ordering stack.
PCI DSS 4.0 and hardware compliance guidance: practitioner-level detail on EMV Level 3 NFC hardware requirements, contactless module versions, and PCI network compliance for contactless payment deployments.
Sources
Recommended
Comments