
Get Guest Ready in One Shift: Tablet Menu Setup for Operators


A properly configured tablet menu can be live and guest-ready within a single shift once the device is provisioned and the menu is published. Start by signing into your menu-management panel or unboxing the tablet for provisioning. The rest of this article walks through the exact checklist, from category structure to accessibility checks, that separates a smooth launch from a frustrating one.
TL;DR:
Ensuring full device registration, a clear menu hierarchy, and thorough testing on actual tablets prevent delays during launch and guarantee smooth operation.
Designing the menu with prominent categories, high-quality media, quick modifier access, and readable fonts improves guest experience and reduces order abandonment.
Confirming seamless integration with your POS and payment systems, along with strong Wi-Fi coverage and backup plans, is essential for reliable operation.
Meeting accessibility standards with adequate touch target size and contrast ensures inclusivity, while role-based security protects sensitive data and settings.
Conducting comprehensive dry runs, load testing, and having fallback options ready mitigate operational disruptions during the initial rollout.
Table of Contents
How Do You Set Up a Tablet Menu Step by Step?
Getting a tablet menu from box to table service follows a predictable sequence. Skip a step and you’ll spend opening night troubleshooting instead of serving guests.
1. Provision the device first. Charge it fully, connect it to a dedicated guest or staff Wi-Fi network, and lock it into kiosk or auto-start mode so the menu app launches automatically after any restart. Register the device in your management dashboard before it ever touches a table.
2. Build the main menu structure. Name the menu, set your default currency and tax rate, then create categories (Starters, Mains, Drinks, Desserts) before adding individual items. Getting this hierarchy right early saves hours of reorganizing later.
3. Add items with real detail. Every item needs a concise description, a visible price, modifier options (size, spice level, add-ons), and allergen or nutrition notes where relevant. Vague copy like “chef’s special sauce” tells guests nothing and slows decision-making.
4. Upload media. High-quality photos, and short videos where your platform supports them, do more to sell a dish than any description. Compress files before uploading. Oversized images are the number one cause of sluggish tablet menus.
5. Apply branding. Choose a theme, set font sizes large enough to read across a table, and pick button styles with enough color contrast to remain legible in dim lighting.
6. Preview before publishing. Load the menu on an actual tablet, not just a desktop browser. Tap through every category, run a modifier flow start to finish, and test a mock payment path. Only publish once that full walkthrough works cleanly.
The typical workflow looks like this in most menu-management platforms: open the app, create the menu, add categories and items, upload branding assets, select currency, preview on-device, then publish.

What Makes a Tablet Menu Easy to Use?
Good tablet menu design isn’t about cramming in every dish. It’s about making the choice in front of a guest feel obvious.
Keep primary categories and your best sellers visible within a single screen. Guests shouldn’t scroll three times to find appetizers.
Promote high-margin items with a featured slot or a badge. Digital displays make it easy to spotlight dishes that boost the average check, and centralized updates let you swap featured items across every location at once, a benefit the National Restaurant Association has flagged as a real driver of upsells.
Write short item copy, show pricing clearly, and keep modifier flows to two or three taps. Every extra screen between a guest and checkout increases the odds they abandon the order.
Use sticky category tabs so guests always know where they are, and keep a consistent “home” or “back” button in the same spot on every screen.
Optimize every image for fast loading, and make sure any promoted item shows at least one photo. A blank tile next to a photographed dish almost always loses the comparison.
Bump up type size and contrast for dim dining rooms or bright outdoor patios. What reads fine on your office monitor can be unreadable at a sunlit sidewalk table.
Pro Tip: Test your menu’s contrast and font size outside, in direct sunlight, before launch. Screens that look crisp indoors often wash out completely on a patio at noon.
Menu planning resources built for seasonal rotation, like this seasonal menu planning guide, offer a useful model for deciding which items deserve featured placement as your offerings change.
How Does a Tablet Menu Connect to Your POS and Payments?
A tablet menu that doesn’t talk cleanly to your point-of-sale system creates more work than it saves. Confirm your integration approach early and map every order flow, including modifiers, before you go live.
Decide whether orders sync automatically to your POS or require manual entry, and test that mapping against your actual menu structure, not a demo account.
Verify which payment methods the tablet supports, then run a real split-bill and a tip-adjustment transaction to confirm both work as expected.
Test Wi-Fi coverage at every table the tablet will sit on, set up guest network isolation so ordering traffic doesn’t compete with guest browsing, and schedule automatic data backups.
Configure the device for auto-start, remote management, and controlled OS updates, and build a simple charging rotation so a tablet is never dead mid-shift.
Keep version control on menu changes. A staged rollout with an easy rollback to the last working version prevents a bad edit from taking your whole menu offline during service.
Some POS admin panels expose direct layout controls, such as row and column counts or a full-screen display flag, that let you shape exactly how the tablet renders your menu panels. Worth checking before you assume you need a third-party layout tool.
What Accessibility and Security Standards Should Tablet Menus Meet?

Tablet menus are public-facing touchscreens, which means accessibility and security aren’t optional extras. They’re baseline requirements that protect both guests and your business.
On accessibility, the W3C’s guidance recommends touch targets of at least 44 by 44 CSS pixels to make buttons usable for guests with limited dexterity or larger fingers. Visual indicators used to identify controls, like an “add to order” icon, need a contrast ratio of at least 3:1 against their background so they remain visible under variable restaurant lighting.
A menu button that’s too small or too low-contrast doesn’t just frustrate one guest. It quietly excludes anyone with limited vision or motor control, and it does so every single service.
On security, give every device its own unique login credentials rather than a shared password, restrict staff access based on role, log any remote administrative activity, and require two-factor authentication for anyone who can reach payment settings remotely. Designate specifically who has permission to publish menu changes, and use a staging environment to preview edits before they go live to guests.
What’s the Testing and Go-Live Checklist Before Launch?
Never publish a tablet menu straight to the floor without a dry run. Testing catches the failures that only show up under real conditions.
Run device-level tests. Tap every touch target, confirm images load quickly, walk through modifier flows, and complete a full payment authorization with a printed or emailed receipt.
Have staff run a live dry test. Include order entry, a split check, an allergen flag, and a quick device handoff between shifts, since staff acceptance tests that mirror real service conditions catch problems demo accounts never surface.
Simulate peak load. Push several orders through at once, force a Wi-Fi drop to test failover, and confirm the POS reconciles correctly afterward.
Confirm your fallback plan. Keep a QR-code mobile menu and a printable version ready, and know exactly how to disable a malfunctioning tablet in seconds.
What Tablet Menus Change on the Floor
Table-side tablets don’t replace your staff, they redirect their time toward guests instead of order-taking. That only works if the training keeps pace with the hardware.
Prioritize three things: modifier entry speed, discreet tip handling on-screen, and a charging protocol so no device dies mid-rush. Once live, track order accuracy, table turn time, and average check for a few weeks. Those three numbers tell you fast whether the rollout is actually working.
— Abhi
Where Mydigimenu Fits Into Your Tablet Rollout
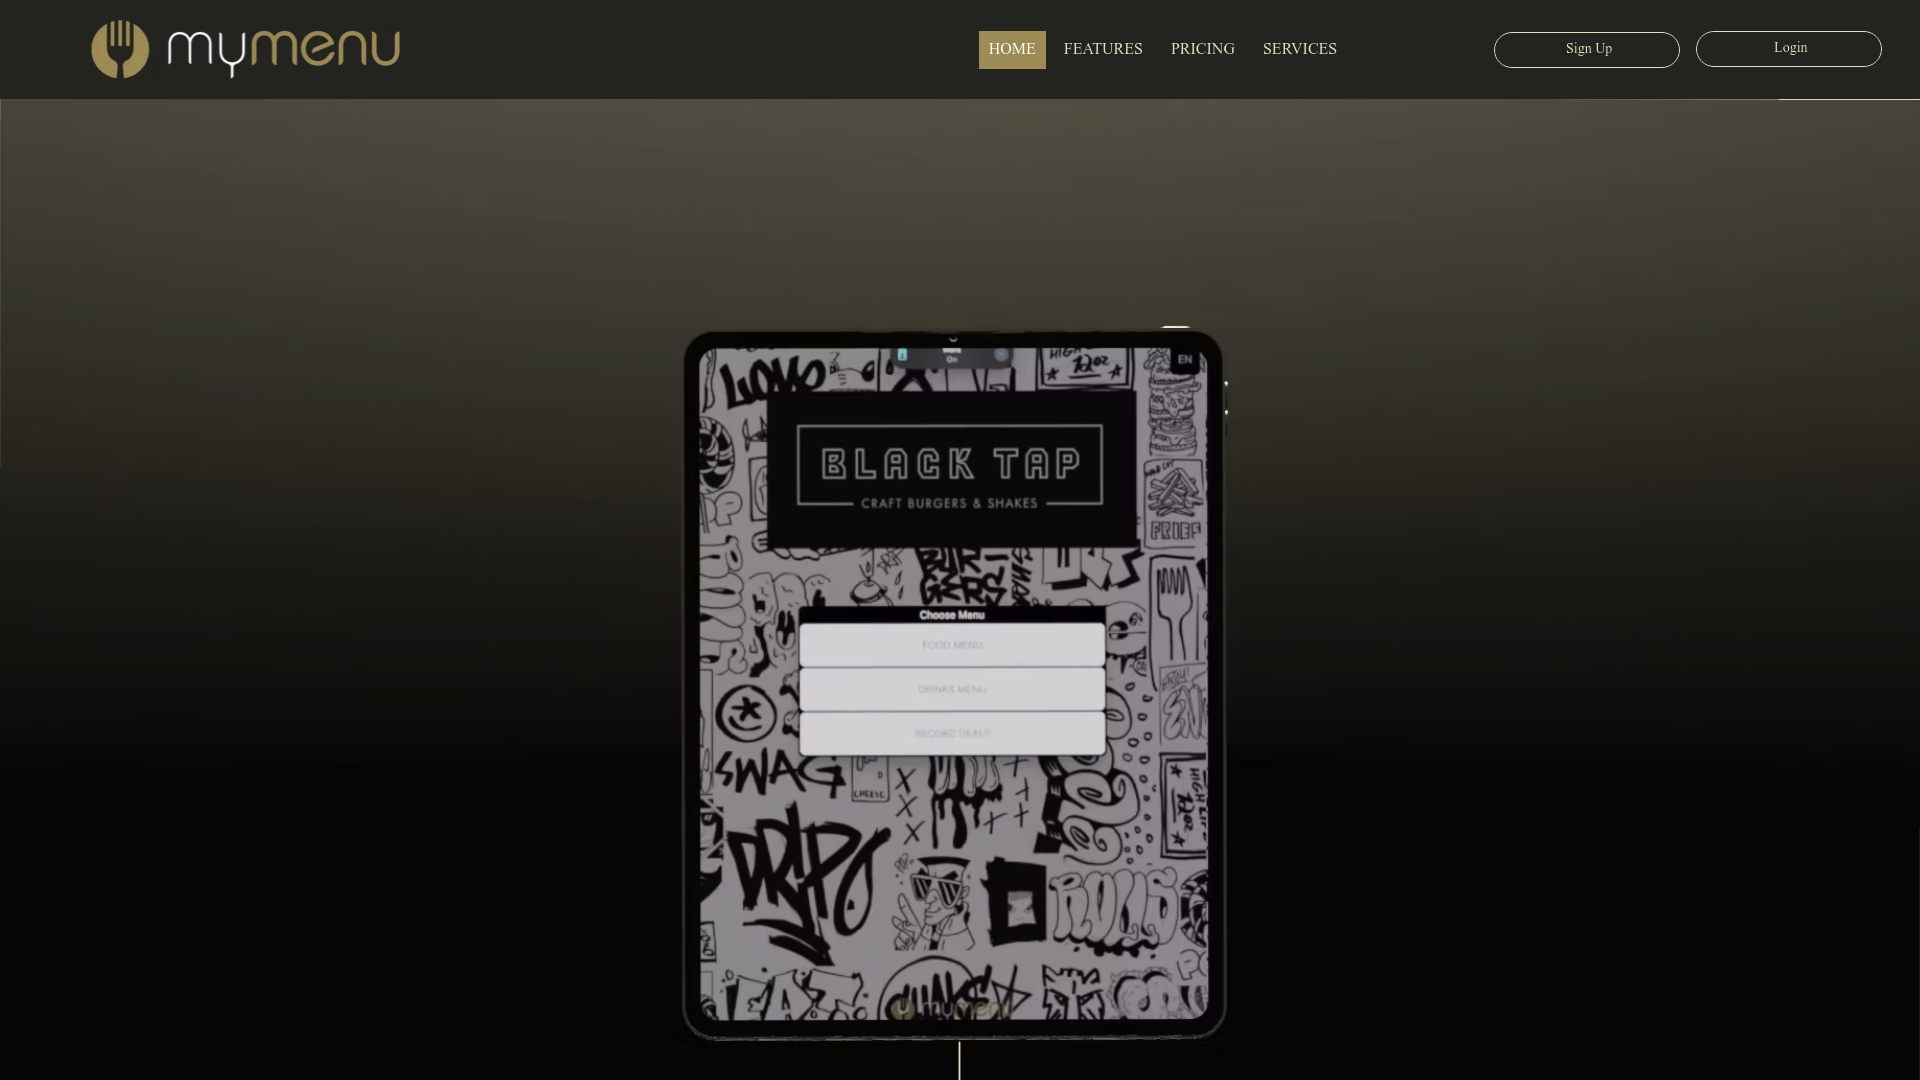
Mydigimenu is built specifically for the checklist above, not bolted onto a generic ordering app afterward. The platform’s Tablet Menu product gives you branded categories, media-rich item displays with photos and video, and third-party POS and payment integrations already mapped into the setup flow, so you’re configuring a menu instead of building integrations from scratch.
If you’d rather add a QR-code option alongside your tablets, the QR Menu product runs on the same backend, so menu changes publish to both at once. Hotels managing in-room ordering can look at The Hotel App for a similar setup tailored to guest rooms and concierge services. Pricing runs across several tiers, including the StartUp Menu at $39 per month, up through managed and enterprise options, all listed on the pricing page. Open the pricing page, pick the plan that matches your table count, and you can have a demo menu built the same day.
Sources
FAQ
Where Do I Find Menu Settings on a Tablet?
Menu settings live inside your provider’s management dashboard, usually under a tab labeled “Menu” or “Catalog,” accessible from any browser once you sign in. On Mydigimenu, this panel controls categories, items, pricing, and branding, and changes sync to the tablet after you publish.
What Is a Tablet Menu Ordering System?
A tablet menu ordering system is a touchscreen device placed at the table or counter that lets guests browse a digital menu, customize orders with modifiers, and often pay directly on the device. It typically connects to your POS so orders and payments sync without manual re-entry, cutting down on order errors.
What Does a Menu Button Look Like on a Tablet App?
A menu button is usually a clearly labeled icon or tab, often marked with a fork-and-knife symbol, a hamburger icon, or the word “Menu,” positioned in a consistent spot like the top or bottom of the screen. Following W3C’s target-size guidance of 44 by 44 CSS pixels keeps that button easy to tap accurately.
Where Is the Menu Icon on an Android Tablet App?
On most Android-based restaurant tablet apps, the menu icon sits in a fixed navigation bar, typically at the top of the screen or as a persistent tab along the bottom. If a custom launcher or kiosk mode is active, the icon may be the only visible interface element, since the app is locked to prevent guests from exiting to the home screen.
How Much Does a Tablet Menu System Cost?
Pricing depends on the platform and features included. Mydigimenu’s plans start at $39 per month for the StartUp Menu, with higher tiers such as Gold Menu and Platinum Menu adding features like advanced integrations, and full details are listed on the pricing page.
Recommended
I like how That's Not My Neighbor makes even a normal visitor feel suspicious. Sometimes one tiny detail is enough to make me stop and check everything again before opening the door.