
5 Steps to Better QR Code Menu Placement for Restaurants


Put your QR code where a guest’s eyes and hands already land: on a table tent angled toward the diner or on the host stand facing arriving guests. That default works because it satisfies three things at once: reachability, a natural sightline, and lighting that does not fight the camera. Everything else in this guide exists to help you verify that placement holds up at the actual table, not just on a designer’s screen. If you want the full test checklist, skip to the rollout section below.
TL;DR:
Position QR codes near the edge of tables or counters, angled toward guests’ natural sightlines, and avoid blocking with centerpieces or promotional inserts.
Ensure the quiet zone around the code remains clear and maintain high contrast with at least 1 to 2 centimeters of margin from other graphics or text.
Use a minimum code size of about 3 by 3 centimeters on table tents and verify scanning performance under different lighting, angles, and surface curvature.
Conduct on-site testing with the actual devices, lighting conditions, and table setup before full deployment to confirm quick, reliable scans.
Utilize hosted, dynamic menus that update instantly, reducing reprint needs and allowing real-time adjustments to improve scan rates and user experience.
Table of Contents
Best spots on tables, counters, and entry points
Where you put the code depends on how guests actually move through the room, not on what looks tidiest in a mockup. Table tents work best positioned near the edge closest to the seat, angled slightly toward the diner rather than standing dead center, where it competes with candles, condiments, or a folded napkin for attention. Center placement looks balanced in a product photo but often forces a guest to reach across the table or crane their neck, which is exactly the friction you want to remove.

Stickers earn their place when a venue wants something permanent and resistant to spills, such as bar tops, counter service windows, or coffee bar surfaces where turnover is fast. A decal should sit within easy arm’s reach of where a guest naturally sets their phone or leans in, not tucked at the far corner of a counter. For arrivals and takeout lines, host stands and entrance signage give waiting guests something to do besides staring at their phones for an unrelated reason, and they set expectations before anyone sits down. Practical placement guidance describes this as matching the code to the “scan moment,” the exact point where a phone or a glance naturally lands, rather than wherever there happens to be blank space.
Common mistakes repeat across venues of every size:
Codes buried behind a centerpiece, menu holder, or tabletop advertisement.
Stickers placed at a height or angle that forces an awkward overhead photo.
Table tents stacked with promotional inserts that shrink the printed code below a usable size.
A single consistent placement across every table and counter also matters more than most managers expect, since research on guest acceptance ties habit and consistency to higher adoption of QR menus in casual dining settings.
Design rules that turn a glance into a successful first scan
A QR code can be placed perfectly and still fail to scan if the design around it works against the camera. The quiet zone, the clear margin surrounding the code’s modules, has to stay empty: no logo, no border, no decorative flourish inside it. GS1’s 2D branding guidelines define that margin at four modules wide and tie it directly to scan reliability, which means telling a print vendor to “leave some space” is not precise enough. Give them the module count.
Contrast matters as much as spacing. A dark code on a light, matte background scans fast; a code dropped onto a photo, a gradient, or a low-contrast brand color often does not. Camera angle deserves the same attention: a guest’s phone should be able to face the code within roughly 30 degrees of straight on, so avoid mounting codes on steep table-tent lips or deep-curved stands that force a tilted, blurry shot.
Keep the printed code at least 1 cm clear of any other text or graphic, extending to 2 cm in a cluttered table setting, a margin. Placement guides recommend specifically for small cards.
Pair every code with benefit-first text such as “Scan to view the menu” or “Scan for today’s specials,” since print marketing research shows a naked code gets scanned less than one paired with a clear instruction.
Design the surrounding layout for one-handed use, since most guests will be holding a drink, a napkin, or a fork in the other hand.
Pro Tip: Print a proof at full size and scan it with the same phone a guest would use, sitting at the table, before you approve a full run.
Size, lighting, and surface specs that keep codes scannable
Specs only matter if they survive contact with real lighting and real surfaces, so treat the numbers below as minimums to verify on-site rather than targets to hit on paper.
Factor | Recommended spec | Why it matters |
Table tent code size | About 3 by 3 cm minimum | Placement guidance ties this size to typical arm’s-length scanning distance on a table |
Wall or freestanding display height | centered at eye level | Matches standing or seated eye level across most guests, per the same placement guide |
Lamination finish | Matte, not glossy | Gloss creates specular glare under directional lighting that cameras struggle to read through |
Curved surfaces | Reduce code size to fit the flattest visible arc | A code wrapped around a curve distorts enough modules to break a scan |
Lighting deserves a walk-through at different times of day, since a table that scans cleanly at 2 p.m. can suffer glare from an evening candle or a bar’s accent lighting after dark. Diffuse, even light scans far more reliably than a single bright point source reflecting straight off a glossy card. A practical spec guide for small hospitality lighting setups covers this kind of fixture planning in more depth for counters and bars.
Accessibility is not a finishing touch. Section 508 guidance on QR codes recommends a printed alternative, such as a short URL or a plain label like “Scan for menu,” alongside every code, plus a staff-offered option for guests who cannot or prefer not to scan.
Print a short URL beneath the code as a fallback for anyone without a working camera.
Train staff to offer a paper or tablet menu without being asked twice.
Rollout and testing checklist before you commit to a full print run
Treat placement like a feature launch, not a one-time print job. Pilot, measure, then scale.
Test the printed proof on the smallest common phone model in your market, plus at least one older device with a slower camera.
Scan one-handed, with the other hand occupied by a glass or cutlery, to catch awkward angles before guests do.
Test on the real table, with place settings, centerpieces, and a server moving through the scene, at morning, midday, and evening light.
Confirm the destination loads quickly, reads clearly on a small screen, switches languages correctly, and keeps the printed fallback link visible.
Run the pilot on a subset of tables, track scan rates, coach staff to prompt hesitant guests, then roll out venue-wide once the numbers hold.
93% of consumers who scanned a restaurant QR code say they would do it again, according to placement best-practice research, which makes a short pilot worth the extra week before a full reprint.
What operators get wrong about QR placement
Most operators spend their effort on how the code looks and too little on where a hand and an eye actually land. Graphic polish rarely fixes a code mounted at the wrong angle or buried behind a candle. Consistency across every table beats a clever one-off design, since guests build a habit of looking in the same spot. The cheapest wins are often the dullest: a staff prompt at the table, a matte laminate swap, a printed Wi-Fi card next to the menu card. Fix those before touching the artwork.
— Abhi
How MyDigiMenu removes the reprint and testing headaches
Placement testing only pays off if the menu behind the code can keep up, and that is where most printed QR rollouts stall: a price changes, a dish sells out, and the whole table tent needs a reprint.
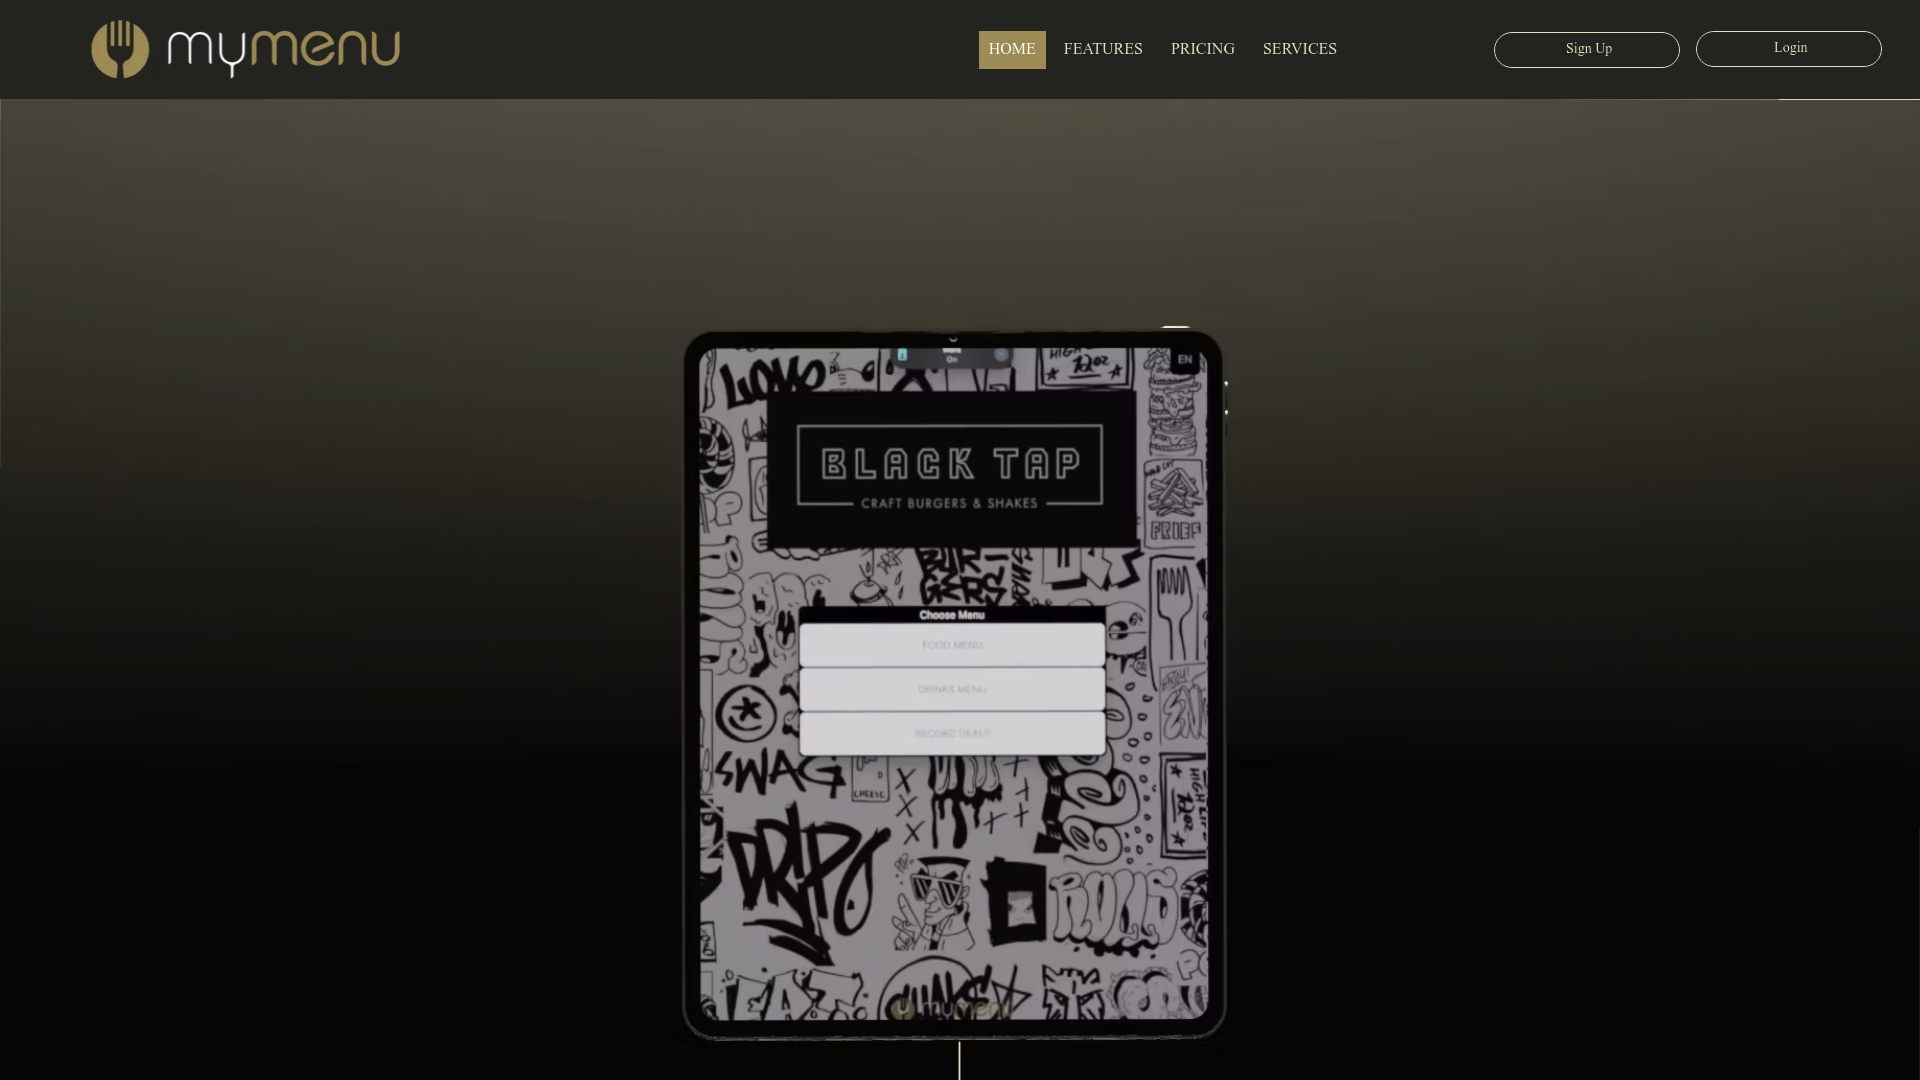
MyDigiMenu hosts your menu as a dynamic destination, so edits go live instantly instead of waiting on a print vendor.
QR-hosted menus that update prices, photos, and availability without a single reprint.
Design support for layouts that keep your CTA and contrast rules intact.
POS integrations and a Restaurant Reservations Module for venues running pilots across both menu and booking flows.
That means your placement pilot can run on real data: swap a table tent’s CTA wording, watch scan rates shift, and adjust the same day. Visit the QR Menu page or check current plans to get a hosted menu live before your next print cycle.
Sources
FAQ
How do I put a menu on a QR code?
Upload your menu content to a hosting platform that generates a scannable QR code linked to a mobile-friendly page, then print that code on a table tent, sticker, or stand. Platforms built for restaurants, including QR Menu, handle the hosting and update side so you are not reprinting every time a price changes.
Where should QR codes be displayed in a restaurant?
Place them where a guest’s hand and eyes naturally rest: table tents angled toward the seat, counter stickers within arm’s reach, and host-stand signage for arrivals. Avoid spots blocked by candles, condiments, or folded menus.
Can I scan a QR code to view the menu instead of a paper one?
Yes, most restaurant QR menus link directly to a mobile page that loads the full menu, often with the option to order or pay from the same screen. A printed URL or staff-offered paper menu should still be available as a fallback, per Section 508 accessibility guidance.
How can I create a QR code for my restaurant menu?
Use a digital menu platform that generates and hosts the code for you, rather than a generic QR generator with no update path, so price or dish changes do not require a reprint. Pricing for a hosted option like MyDigiMenu’s QR Menu starts at $39 per month on the StartUp Menu plan.
Recommended
Comments