
Save 7–15 Minutes Per Table with Pay at Table for Restaurant Managers

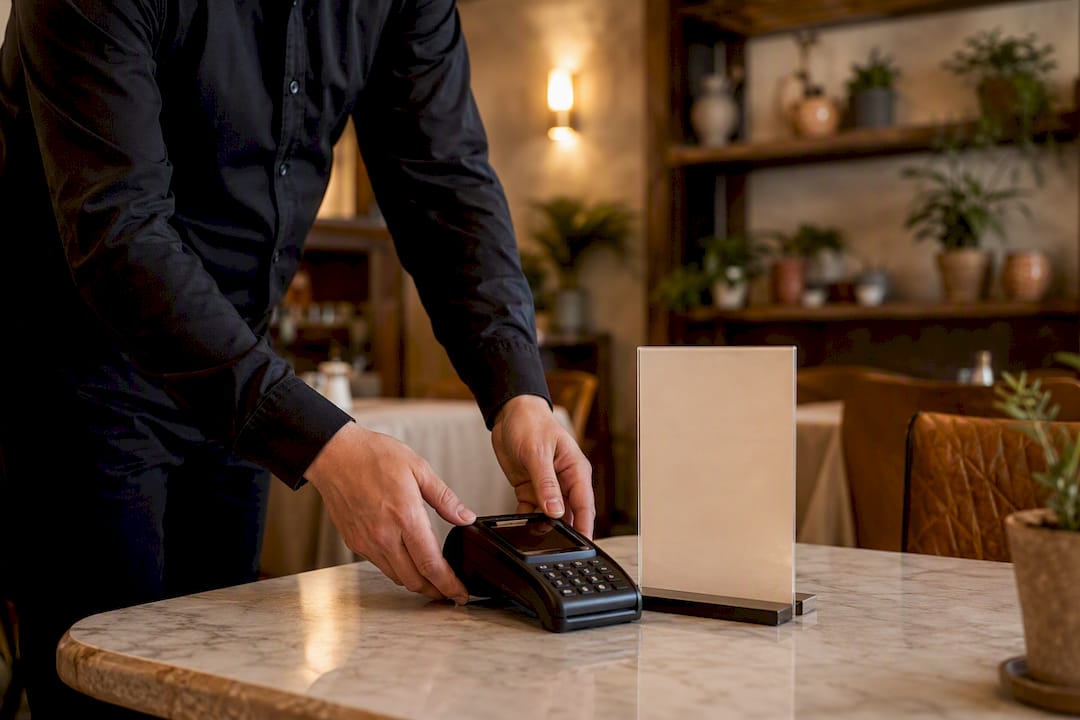
Pay at table lets guests settle their check right where they’re sitting, either by scanning a QR code with their own phone or by having a server bring a handheld POS terminal to the table. The operational payoff is simple: fewer trips to the register, faster table turns, and a guest who leaves whenever they’re ready instead of waiting on a card run. The sections ahead cover the mechanics, the metrics, the costs, and a real implementation path.
TL;DR:
Implementing pay at table can reduce table turnover time by 7 to 15 minutes, enabling more covers per shift and increasing revenue.
Costs vary: QR solutions eliminate hardware expenses and offer faster ROI for smaller venues, while handheld terminals provide staff control at higher upfront costs.
Integration should ensure menu synchronization, table mapping, refund testing, and cellular fallback, with testing during slow shifts to avoid service disruptions.
Data security relies on tokenization and encryption, but restaurants must manage guest contact data responsibly with clear opt-in policies.
Pay at table is most beneficial for high-turnover venues like bars and brunch spots; slower concepts should pilot carefully or wait until bottlenecks center on table time.
Table of Contents
How Pay at Table Actually Works, Step by Step
Two workflows dominate the market. In the QR/browser model, a guest scans a code printed on the table or check, opens the bill in their phone’s browser, and pays without downloading anything. In the handheld terminal model, a server carries a POS device to the table so the card (or tap) never leaves the guest’s sight. Square’s tableside payment guide frames these as the two dominant approaches, each with different staffing and hardware trade-offs.
The sequence looks roughly like this:
The kitchen or floor closes out ordering, and the check becomes visible to the guest, either on a printed QR panel or on the terminal screen.
The guest reviews line items, splits the bill by seat or evenly among the party, and selects a tip percentage.
The payment method processes through a tokenized connection, so raw card data never sits exposed on the network.
The POS receives settlement confirmation and updates the table status in real time.
A digital or printed receipt goes out, and the table is marked open for bussing.
Tokenization and point-to-point encryption matter here because they reduce the window where card data could be intercepted. This is standard in most current systems, not a premium add-on, and it’s worth confirming during vendor selection.
What Pay at Table Actually Moves: Time, Tips, and Ratings
The numbers are where pay at table earns its keep. Vendor case studies compiled by TabSettle show deployments commonly saving 7 to 15 minutes per table, a range that comes almost entirely from cutting out the “wait for the check, wait for the card machine, wait for the receipt” loop.
Stat check: Shaving even 10 minutes off table time during a two-hour dinner service can free up capacity for an extra seating on a busy night, without adding a single chair.
That time savings compounds in a few directions:
More covers per shift on nights when tables are the bottleneck, not the kitchen.
Tip uplift of roughly 10 to 20%, per the same TabSettle data, largely driven by preset tip percentages that make giving 20% the path of least resistance.
Higher review capture, since a smooth checkout is one less friction point that shows up in a one-star complaint.
Track table-turn minutes, average tip percentage, and post-visit review volume for 30 days before and after launch. Without a baseline, you’re guessing whether the rollout worked.
Choosing an Implementation Path That Fits Your Floor
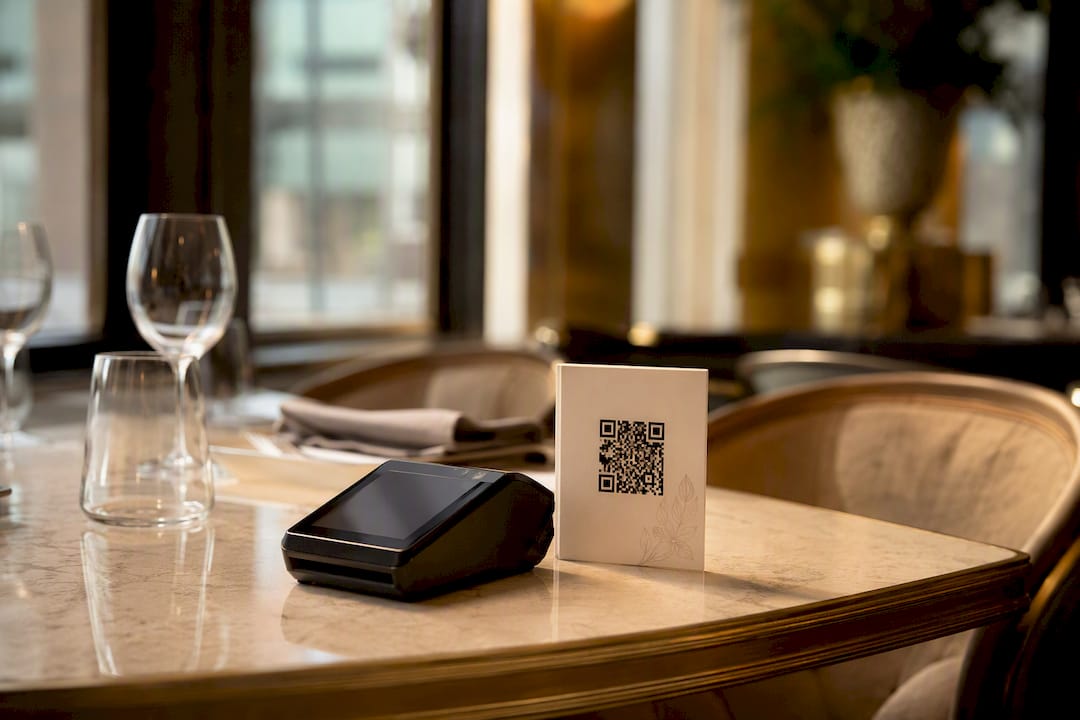
The QR/browser route needs no hardware purchase, which keeps upfront costs low and makes it forgiving for venues with unpredictable covers. Handheld terminals cost more but give staff direct control over the checkout, which matters in full-service dining where a server’s presence at the table is part of the experience. TabSettle’s QR solution page makes the capex contrast explicit: no hardware, no app, versus a device-per-server model.
Integration depth is the other decision axis. Options generally fall into three tiers:
Native POS connectors that sync menus, modifiers, and table maps automatically.
Semi-integrated SDKs that plug payment into an existing POS without a full rebuild.
Full API integrations, which developer teams use when they need custom checkout logic. North.com’s developer guide covers SDK and semi-integrated paths in more technical detail.
Before going live, walk through this checklist:
Confirm menu and modifier sync between the ordering system and the payment layer.
Map every table and floor section so checks route to the right terminal or QR code.
Test refund and void flows under a manager PIN, not just payment capture.
Plan shift-close behavior so open checks don’t get orphaned overnight.
Verify cellular fallback exists if the venue’s Wi‑Fi drops during peak service.
Pro Tip: Run your integration test during a slow lunch shift first, not a Saturday dinner rush. You want to find the bugs when the room is half full, not when the wait list is thirty deep.
What Pay at Table Actually Costs and When It Pays Back
Costs break into four buckets: hardware (for terminal models), a monthly SaaS or platform fee, per-transaction processing fees, and printing or branding costs for table cards and QR panels; information on possible financial support is detailed in the Productivity Solutions Grant (PSG) for POS System – Superior Kitchen Equipment. QR/browser setups skip the hardware line entirely, which is why they tend to have the fastest payback for smaller venues.
A simple ROI framework: multiply minutes saved per table by average covers per shift, then estimate the extra covers that frees up over a month. Add expected tip uplift on top, since that number affects staff retention even when it doesn’t hit the owner’s P&L directly.
Watch for hidden costs before you sign anything:
Integration labor if your POS vendor charges for API access or custom connectors.
Staff training time, which is real payroll even if no invoice shows up for it.
Contract lock-in periods that outlast your hardware’s useful life.
Check payment options guides for how pay at table compares against other contactless methods on total cost of ownership.
Training Your Floor Staff for a Smooth Rollout
The technology fails or succeeds based on how staff introduce it. A server saying “you can pay right from your phone whenever you’re ready, or I can bring the machine” gives guests a choice instead of a mandate.
Brief the floor team on the exact wording to use when presenting the payment option at the table.
Set tip prompts to match your existing culture. If servers typically earn 18 to 22%, don’t default the presets lower.
Build a fallback path for guests without a smartphone or with a dead battery. A handheld terminal or a traditional card run should always be available.
Pilot with one section or one shift for one to two weeks before rolling out room wide, which Pepper’s implementation guide recommends for catching integration issues early.
Pro Tip: Assign one manager to own the pilot’s feedback log. Random comments from five different servers rarely turn into fixes; one person tracking patterns almost always does.
How MyDigiMenu Puts Pay at Table Into Practice
Mydigimenu builds pay at table around the same QR menu guests already use to order, so payment becomes an extension of a flow they’ve seen before rather than a separate app or step. The platform includes:
QR-based digital menus with built-in checkout, no app download required
Apple Pay and Google Pay support alongside standard card processing
POS connectors for order and floor sync
Loyalty and CRM tools that capture guest data at the same moment payment happens
Setup typically follows four steps: upload the menu, enable the payment methods you want active, place QR codes on tables or checks, and activate the POS connector if one applies. Operators using the contactless dining framework often layer pay at table on top of an ordering rollout already in place, which shortens the learning curve for staff.
How Pay-at-Table Systems Handle Guest Data
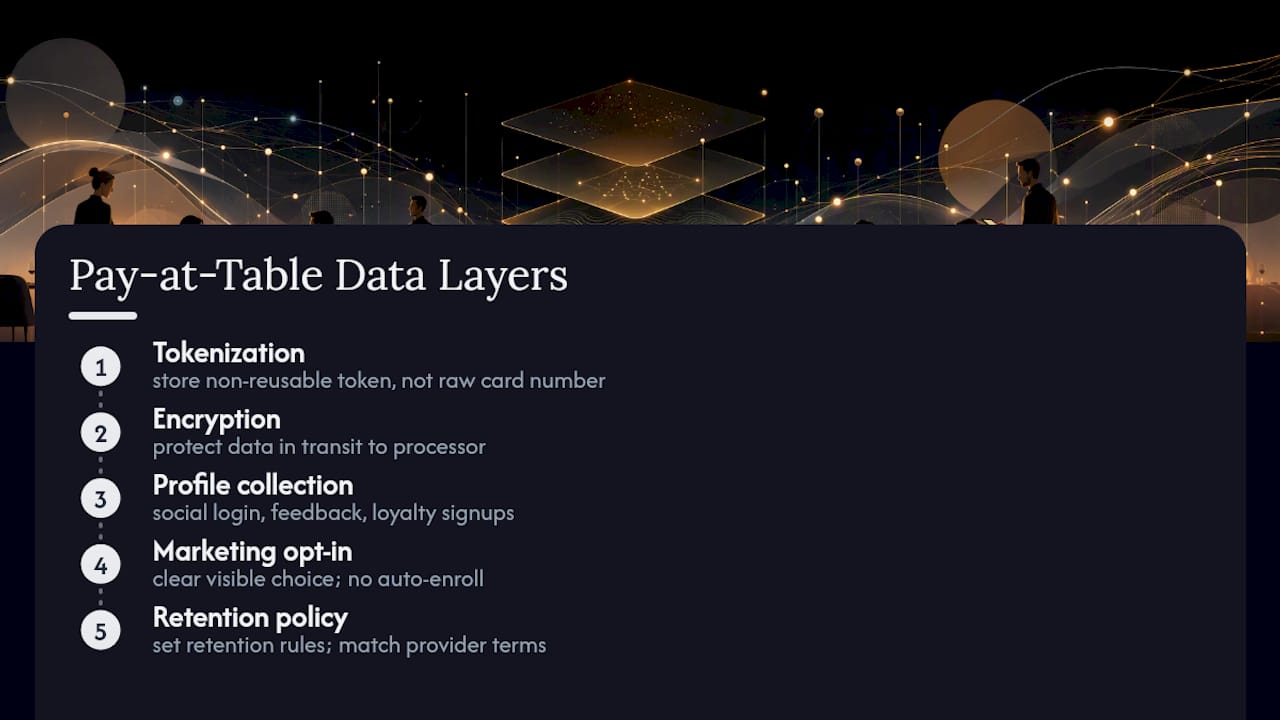
Every pay-at-table transaction touches guest data beyond the card number, including phone numbers captured for receipts, loyalty enrollment, and sometimes marketing opt-ins. That data has real value to a restaurant’s CRM efforts, but it also carries responsibility.
Tokenization is the first layer of protection. Instead of storing a raw card number, the system stores a token that’s useless outside that specific transaction chain, which limits exposure if any single system is compromised. Encryption protects data in transit between the guest’s phone or the terminal and the payment processor.
Beyond the payment itself, restaurants collect guest profile information through social login, feedback forms, and loyalty programs that often run alongside pay-at-table features. Clear opt-in language matters here. A guest who taps “pay now” should not be automatically enrolled in a marketing list without a visible choice to decline.
Retention policy is worth defining before launch, not after a guest asks. Decide how long transaction records, contact details, and order history stay in the system, and make sure your provider’s data handling terms match what you tell guests. Most reputable platforms publish this in their terms of service, and it’s worth reading before you sign a contract rather than after a guest complaint lands in your inbox.
Pay at Table Versus the Register Line and the Card Run
Traditional payment, where a server collects a card, walks to a terminal, and returns with a receipt, still works fine for slow, intimate dining rooms where the pace of service is part of the experience. It falls apart in high-volume settings: brunch rushes, sports bars during a big game, or any venue running back-to-back reservations.
Counter service and register lines solve speed for quick-service formats, but they don’t map well onto full-service dining, where guests expect to pay without leaving their seat. Pay at table closes that gap by keeping the transaction where the guest already is.
The comparison isn’t universally one-sided. A steakhouse built around tableside presentation and a lingering multi-course pace may find that a server-delivered check, paid the traditional way, reinforces the experience rather than detracting from it. A fast-casual bar with high turnover has the opposite problem: every minute a card sits with a runner is a minute that table isn’t turning. Matching the payment method to the pacing of the concept matters more than defaulting to whichever technology is newest. Improving table turnover is where the ROI case is clearest, but not every dining room is optimizing for turnover in the first place.
When Pay at Table Is Worth Adopting
Brunch spots, bars, and group dining scenarios see the fastest returns because table time is the bottleneck and splitting checks is constant. Slower-paced, highly personalized concepts, or venues with an older guestbase less comfortable with smartphones, should wait or run a limited pilot first. My one-line filter for managers: if your bottleneck is table time, adopt it; if your bottleneck is kitchen throughput, fix that first.
— Abhi
Get Started With Pay-at-Table on MyDigiMenu
Mydigimenu gives you a pay-at-table setup without forcing a choice between QR simplicity and full POS integration. You get both: a no-hardware QR checkout for lower upfront cost, or a connected terminal workflow if your floor team needs staff-driven checks, plus loyalty capture and CRM tools built into the same platform instead of bolted on afterward.
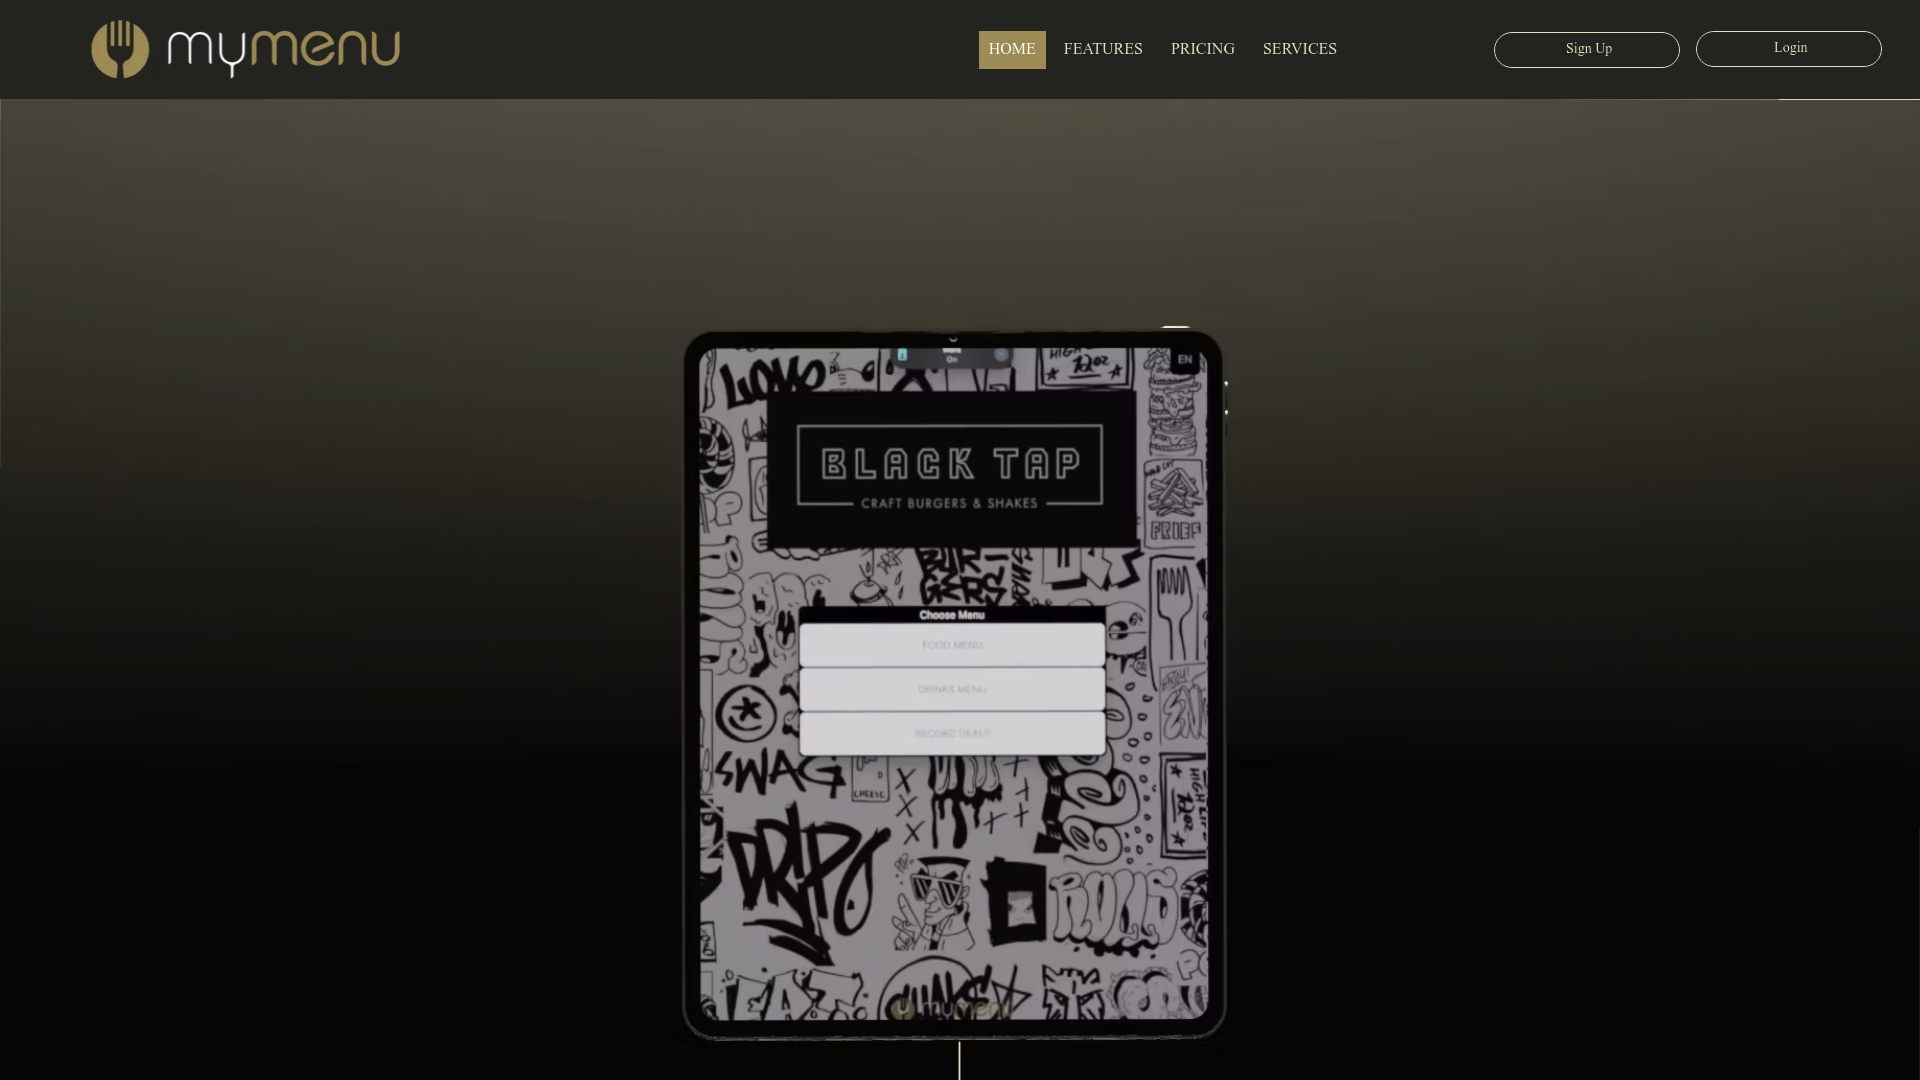
If you’re running a QR-first, no-hardware rollout, start with the QR menu product page to see how checkout attaches directly to the ordering flow. If your concept leans toward tablet-based table service, the digital tablet menu page walks through how payment, ordering, and floor management connect. Either page includes setup support, so you’re not configuring POS connectors alone. Book a walkthrough to see which path fits your floor before your next busy weekend.
Sources
For technical depth beyond this guide, see Square’s tableside payment breakdown, TabSettle’s case study data, and the National Restaurant Association’s industry research for adoption context.
Recommended
Comments