
4 Ready to Use Modifier Group Setups for Restaurant Operators

The recommended setup: name every modifier group by function, attach it at the correct item, subgroup, or menu level, set clear required/optional and min/max rules, then choose a pricing model that matches the option’s actual cost. Done right, this combination speeds up ordering and protects order accuracy across every channel. Digital menu platforms let operators configure all of this from one menu manager.
TL;DR:
Properly attaching modifier groups at the correct menu level and setting clear rules can speed up ordering and reduce errors across all sales channels.
Using shared modifier groups for multiple items and testing them thoroughly on all digital and in-person ordering systems ensures consistency and minimizes setup time.
Pricing should reflect actual costs: no charge for standard swaps, shared prices for similar items, and per-option fees when costs vary significantly.
Visibility controls and POS prompts help prevent guest confusion online and staff oversights during busy periods.
Annotating modifiers with allergen info and testing their flow improves safety and guest satisfaction across digital and in-person orders.
Table of Contents
What Are Modifier Groups, and Which Settings Actually Matter?
A modifier group is a named collection of choices, like “Toppings” or “Doneness,” attached to a menu item. A modifier option is the individual choice inside that group, such as “Extra Cheese” or “Medium Rare.” You can also use a full menu item as a modifier, which matters when you need inventory tracking or 86-ing to flow through correctly.
Attachment level determines reach. Attach a group to a single item, a subgroup (all burgers), or an entire menu group (every entree), and every item at that level inherits the same options.
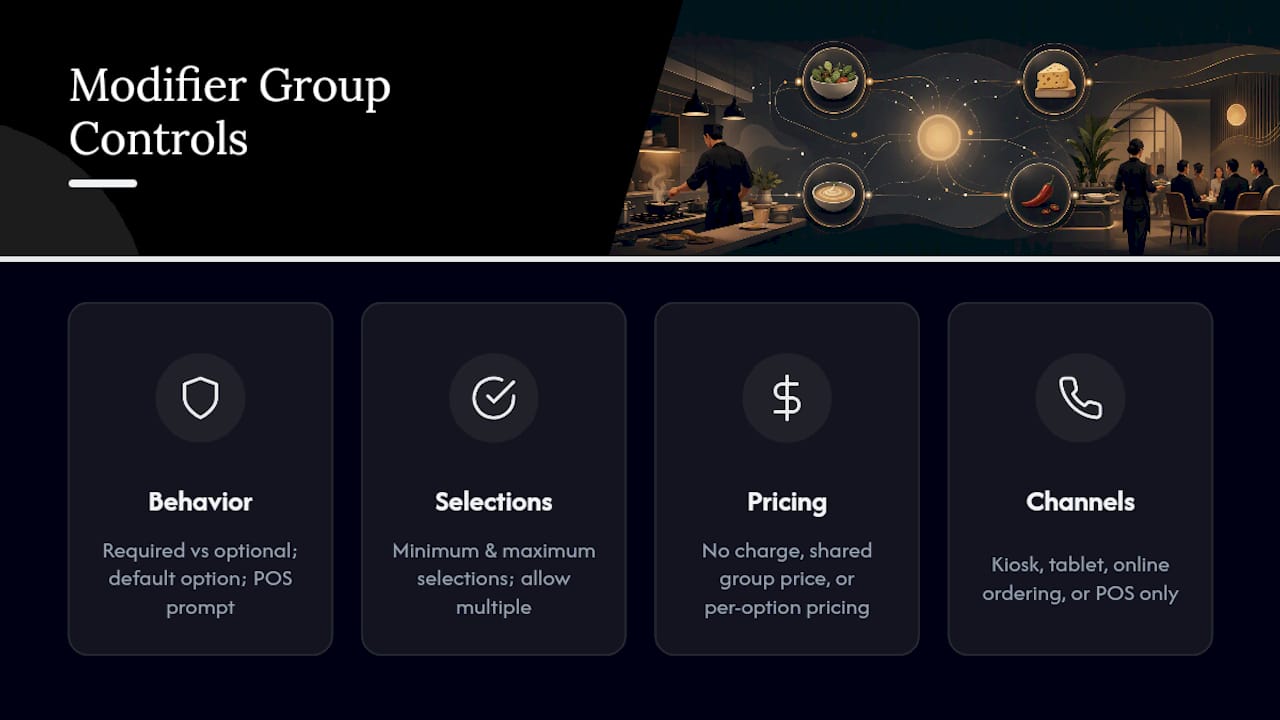
The behavior settings that change guest experience the most: required vs. optional, minimum and maximum selections, allow multiple, default modifier, and POS prompt, which forces staff to confirm an optional group before finalizing an order. Pricing runs three ways: no charge, shared group price, or per-option pricing. Channel visibility controls decide whether a modifier group shows up on kiosk, tablet, online ordering, or POS only.
How Do You Build a Modifier Group Step by Step?
Before touching the menu manager, map every item against its real modifier needs. Which items need a required choice? Which need optional add-ons? Decide the attachment level now, not after you’ve built ten duplicate groups.
Name the group clearly using function, not internal jargon: “Bun Choice,” not “Mod Group 4.” Add POS and print names if they need to differ from the guest-facing label.
Add modifier options one at a time, using plain, specific names guests recognize.
Set behavior rules: mark the group required or optional, set min/max selections, decide whether guests can pick multiple options, and assign any default modifier.
Set pricing: choose shared, per-option, or no charge, then apply item-level overrides where one product needs a different price or default.
Attach the group to the item, subgroup, or menu level you mapped out earlier, then publish.
Run a QA pass: place test orders and check that the receipt, kitchen ticket, and online checkout all show the modifier correctly.
Pro Tip: Build your highest-traffic item’s modifier group first (usually the burger or the coffee), test it live for a shift, then clone the structure for similar items instead of building each one from scratch.
Pricing Strategies and Business Rules for Modifiers
Pricing choice should follow the actual cost of the option, not habit. A shared group price works when every choice costs roughly the same to produce. Per-option pricing protects margin when toppings vary widely in cost, like adding lobster versus adding lettuce.
Use no charge for standard swaps guests expect for free, like choosing a side of fries versus chips.
Use shared price when every option in the group carries the same food cost.
Use per-option pricing when costs vary meaningfully, such as premium cheese or double meat.
Make combo add-ons or deposits mandatory modifiers so staff and guests can’t skip a required charge.
Link any menu-item-as-modifier to inventory so it 86s automatically when stock runs out, protecting both revenue and guest trust.
POS prompts add one more layer of protection. Forcing a prompt on optional, revenue-generating modifiers, like a $2 sauce upgrade, keeps staff from quietly skipping the upsell during a rush.
Getting Modifier Groups Right Across Every Ordering Channel
A modifier group that works on POS can confuse guests on a phone screen. Channel visibility settings let you turn a group on or off per surface, so a staff-only prep note never appears on the guest-facing kiosk.
Show only guest-relevant modifiers on QR and online ordering; hide internal prep instructions from that view.
Order groups to match prep flow: size before toppings, protein before sauce, so kitchen tickets read the way cooks actually work.
Use POS prompts to surface optional upsells staff might otherwise skip during a rush.
Pro Tip: On mobile and QR code menus, limit visible modifier groups per item to three or fewer. Guests on a phone scroll fast, and every extra decision point adds friction that shows up as abandoned carts.
Should You Reuse Modifier Groups or Build New Ones?
Reuse beats rebuilding almost every time. A well-structured guide recommends creating the modifier group first, then attaching it to every item that needs it, rather than duplicating the same “Toppings” group across twelve burgers.
Attach one shared group to multiple items instead of recreating it, cutting setup time and reducing naming drift.
Keep inheritance turned on by default so edits to the parent group flow downstream automatically.
Override at the item level only when a specific product genuinely needs a different default or price.
Document which items share a group, because editing a shared group without that record can silently change pricing or options on items you never meant to touch.
How Do You Test and Improve Modifier Group Performance?
Testing catches the errors that live customers find first. Run sample orders across POS, online ordering, kiosk, and tablet, then check that the receipt and prep ticket both reflect what the guest actually selected.
Test required and min/max logic deliberately, including edge cases like zero-selection flows and item-level overrides.
Verify that mandatory modifiers can’t be bypassed on any channel, not just the one you tested first.
Track take rates and revenue impact by connecting Google Analytics to your online ordering flow, which flags which modifiers guests actually select versus ignore.
Pilot new modifier configurations during a low-traffic shift before rolling changes out restaurant-wide.
Guest ordering habits keep shifting toward digital-first experiences, and broader research on online food ordering shows customers now expect the same clarity and speed online that they get at the counter. A confusing modifier group undercuts that expectation fast.
Allergen Labeling and Accessibility in Modifier Options
Modifier options carry real safety weight. A guest who skips “extra peanut sauce” because it wasn’t flagged clearly has a genuinely different experience than one who orders it by accident.
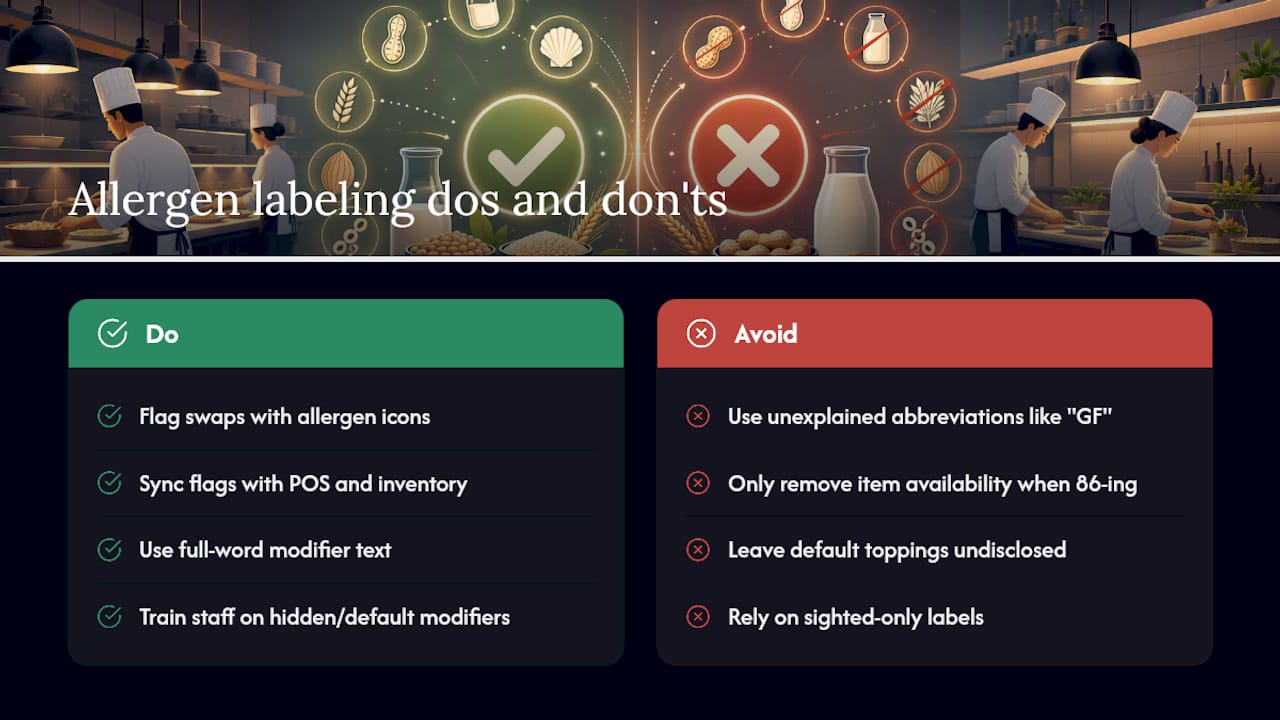
Label modifier options with allergen icons or short notes wherever a swap changes the allergen profile, and sync those flags with POS and inventory data so 86-ing an ingredient also removes the allergen risk, not just the item availability. Write modifier text in full words screen readers can parse cleanly. “GF” reads fine to a sighted guest scanning a printed menu; it means nothing to assistive technology unless the platform expands it. Train staff to check hidden or default modifiers, since a default topping a guest never actively chose can still trigger a reaction if it’s not disclosed.
Ready-to-Use Modifier Presets for Common Menu Items
These four setups map directly onto items nearly every kitchen already runs, and each pattern applies the pricing and behavior rules covered above.
Burger: Side Choice (required, pick 1, no charge), Toppings (optional, up to 4, per-option pricing for premium add-ons), Doneness (required for any steak-based patty).
Pizza: Crust (required, one default selected), Toppings (allow multiples, per-option pricing based on cost), Cheese (default modifier pre-selected, override available for dairy-free requests).
Salad: Dressing (required or defaulted to house dressing), Add-on Proteins (per-option priced and linked to inventory for accurate 86-ing).
Coffee: Size (required, one selection), Milk or Sweetener (optional, allow multiple), Extras like flavor shots (per-option pricing).
What Most Operators Get Wrong About Modifier Setup
Speed and accuracy live or die on modifier configuration, not menu design. The setups that fail almost always share the same three mistakes: option lists so long guests give up scrolling, inconsistent naming that confuses kitchen staff mid-rush, and zero testing before launch day. Start with your five highest-volume items, get those modifier groups right, then expand outward. Trying to perfect every item on day one is how most builds stall halfway through.
— Abhi
How MyDigiMenu Simplifies Modifier Group Management
Some digital menu platforms give you one place to build, attach, and publish modifier groups across QR menus, tablets, and POS integrations, without juggling separate settings on separate systems. These platforms support customizable menu layouts, so a “Toppings” group built once can inherit down to every burger on the menu, and may include analytics integration to show which modifiers guests actually pick.
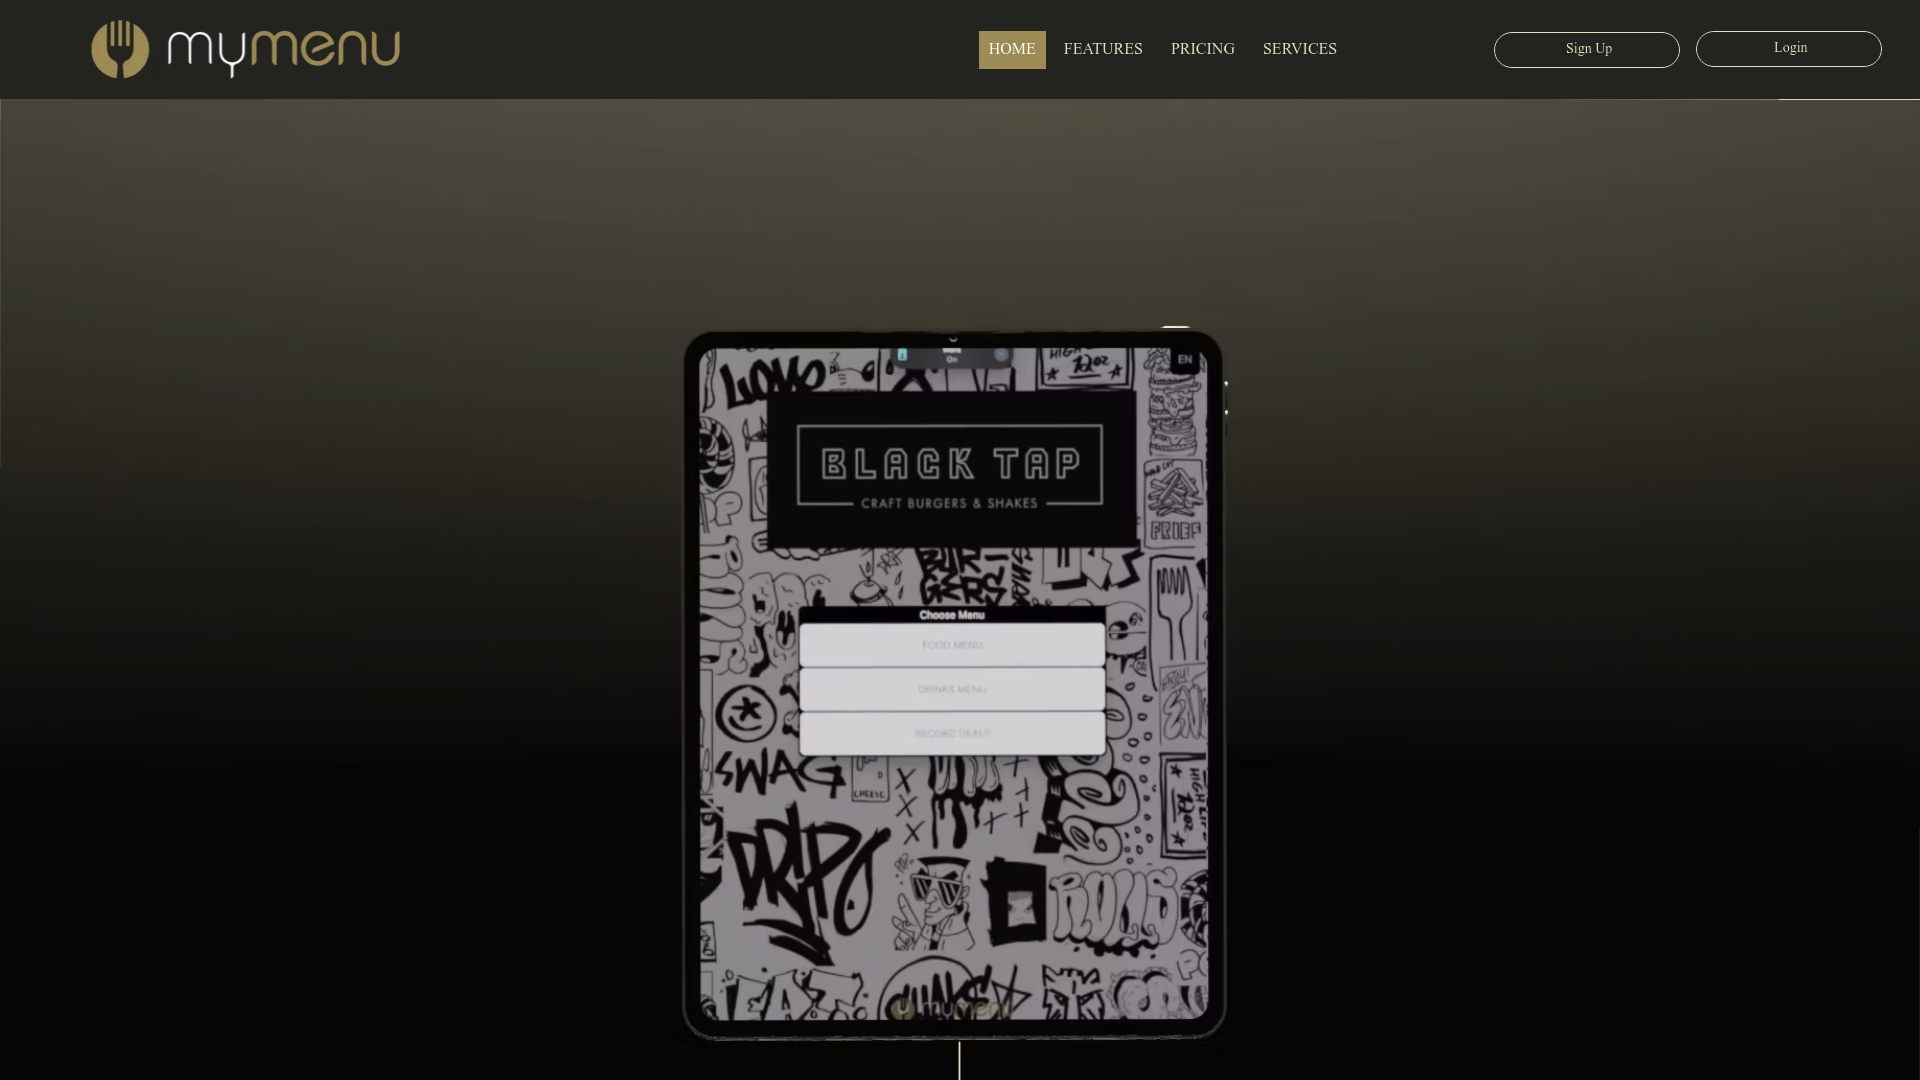
If you’re running modifiers on a tablet or iPad menu at the table, or a QR-based ordering flow guests scan from their own phones, MyDigiMenu keeps required and optional rules consistent between both without double entry. Setup support walks you through attaching groups at the right level the first time, so you skip the trial-and-error most teams go through alone. Check current plans and get a demo scheduled to see your own menu built out in a working modifier group structure.
Where These Setup Rules Come From
The behavior and pricing rules in this guide reflect documented practices from Toast, TouchBistro, and Genius, plus MyDigiMenu’s own internal guides on menu customization and allergen labeling.
Sources
FAQ
What Is the Difference Between a Modifier Group and a Modifier Option?
A modifier group is the named category, like “Toppings,” while a modifier option is one specific choice inside it, like “Bacon.”
Should Modifier Groups Be Required or Optional?
Make a group required when the order can’t be fulfilled without a choice, like burger doneness, and optional when it’s a genuine add-on, like extra sauce.
How Do I Price Modifier Options Correctly?
Match the pricing model to actual cost: no charge for standard swaps, shared pricing when options cost about the same, and per-option pricing when costs vary meaningfully.
Can One Modifier Group Be Used on Multiple Menu Items?
Yes. Attaching one shared group to several items and keeping inheritance turned on saves setup time and keeps pricing consistent across your menu.
How Do I Test a New Modifier Group Before Launch?
Run sample orders across POS, online ordering, kiosk, and tablet, confirm the receipt and prep ticket match the guest’s actual selection, then pilot the change during a slow shift before a full rollout.
Recommended
Comments