
Menu Photography Guidelines for Restaurant Owners

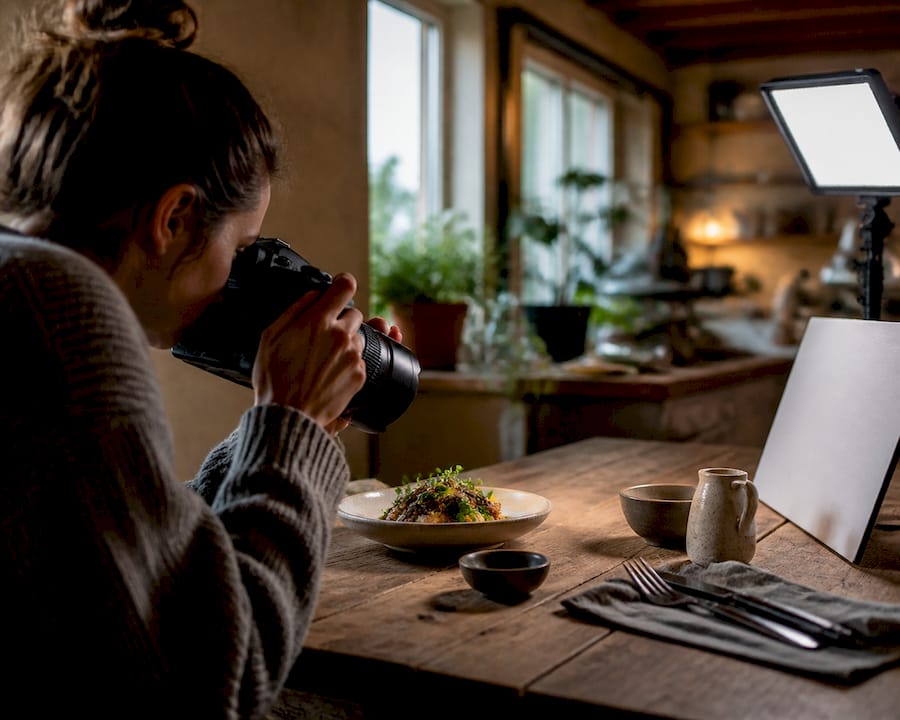
Use one consistent lighting setup, three standard angles, and accurate plating — that combination is the foundation of menu photos that genuinely sell. A DoorDash analysis of over 15,000 local merchants found that menu items with photos drove up to 44% more monthly sales. That figure alone makes photography one of the highest-return operational investments a restaurant can make.
Here are the non-negotiables to apply right now:
Accurate portions: photograph exactly what the guest receives, including sides and garnishes
Clean plate edges: wipe rims before every shot
Consistent background: one neutral surface across the entire batch
Crop-safe framing: keep the hero ingredient at least 15% away from all edges so DoorDash and Uber Eats thumbnail crops don’t cut it off
Truthful edits: adjust exposure and white balance only; never alter portion appearance
Pro Tip: Place a white foam board opposite your window to bounce light back onto the dish. It costs under $5 and eliminates the harsh shadows that make food look flat.
Key Takeaways
Accurate, consistently lit, and crop-safe menu photos are the single most reliable way to increase order conversion on delivery apps and digital menus.
Point | Details |
Photo uplift is measurable | DoorDash’s study of 15,000+ merchants found items with photos drove up to 44% more monthly sales. |
Three angles cover every dish | Use overhead for flat items, 45° for plated entrées, and eye-level for tall or stacked dishes. |
Accuracy prevents refunds | Photos must match served portions and components; platforms including Uber Eats require it. |
Shoot a master file, export many crops | One high-resolution master lets you export square, landscape, and vertical crops for every channel without reshooting. |
Mydigimenu centralizes the workflow | The platform stores multiple crops per dish and publishes updates to delivery apps and digital menus from one image library. |
Table of Contents
What are the best lighting and angle setups for appetizing menu photos?
How should you style and compose dishes for honest, appealing shots?
Which camera and smartphone settings produce the sharpest menu photos?
How does the right photo change across delivery apps, websites, and social media?
What common mistakes make menu photos hurt sales instead of help?
How does a digital menu platform make your photos work harder?
When is DIY menu photography enough, and when should you hire a pro?
Mydigimenu turns your menu photos into a managed, multi-channel asset
What are the best lighting and angle setups for appetizing menu photos?
Natural, indirect window light is the gold standard for food photography. Position the dish perpendicular to the window, not facing it directly, so light rakes across the surface and reveals texture. When a shoot runs past golden hour or the kitchen has no usable windows, a single diffused LED panel placed at roughly 45° to the dish replicates that quality. The key word is single: two competing light sources create conflicting shadows that make food look muddy.
Lock one lighting direction for the entire batch. Changing the light between dishes is the fastest way to produce a menu that looks assembled from five different restaurants.
Snappr’s food photography guide identifies three core angles that cover almost every menu category:
Overhead (90°): flatbreads, grain bowls, charcuterie boards, anything with a beautiful top surface
45° (diner’s perspective): plated entrées, pasta, salads — the angle that most closely mimics how a guest sees the dish at the table
Eye-level (0°): burgers, layer cakes, tall cocktails, stacked sandwiches — height reads best straight on
Assign one primary angle per food category and stick to it. Mixing angles within a category breaks the visual rhythm guests use to scan and order quickly.
Statistic: Items with photos on delivery platforms drove up to 44% more monthly sales in DoorDash’s merchant study — a compelling reason to treat every lighting decision as a revenue decision.
For texture and steam, try back-lighting or side rim-lighting: position the light source slightly behind and to one side of the dish. A small reflector or even a folded white napkin on the opposite side fills the shadow without flattening the texture.
Pro Tip: Schedule shoots between 9 AM and 11 AM when window light is bright but not yet harsh. Midday sun creates hard shadows; late afternoon goes warm and orange fast.
How should you style and compose dishes for honest, appealing shots?
Accuracy is the first rule of styling. Photograph the portion the guest will actually receive, with the same sides, garnishes, and dishware. Oversized hero portions that guests never see in real life generate negative reviews and refund requests. For plating inspiration that translates directly to the camera, think about color contrast and height before the dish even leaves the kitchen.
Composition basics worth applying on every shot:
Rule of thirds: place the hero ingredient at an intersection point, not dead center
Rule of odds: three garnish elements read more naturally than two or four
Height and texture: add a small stack or lean an element to break a flat surface
Cross-sections: cut burgers, layered cakes, and stuffed items in half to show what’s inside
Backgrounds and props should support the dish, not compete with it. Choose one or two neutral surfaces — a matte slate tile, a light wood board, a linen cloth — and rotate them based on brand tone. A casual taco spot might use a worn wood surface; a fine-dining restaurant benefits from a clean white or dark marble. Keep props minimal: one fork, a small herb sprig, a sauce ramekin. Anything that wouldn’t plausibly appear on the actual table is a distraction.
Plate prep matters more than most owners realize. Wipe the rim with a clean damp cloth immediately before shooting. Refresh wilting garnishes last. For colorful, high-contrast plating that photographs well, pair warm proteins with cool greens and avoid monochromatic plates.
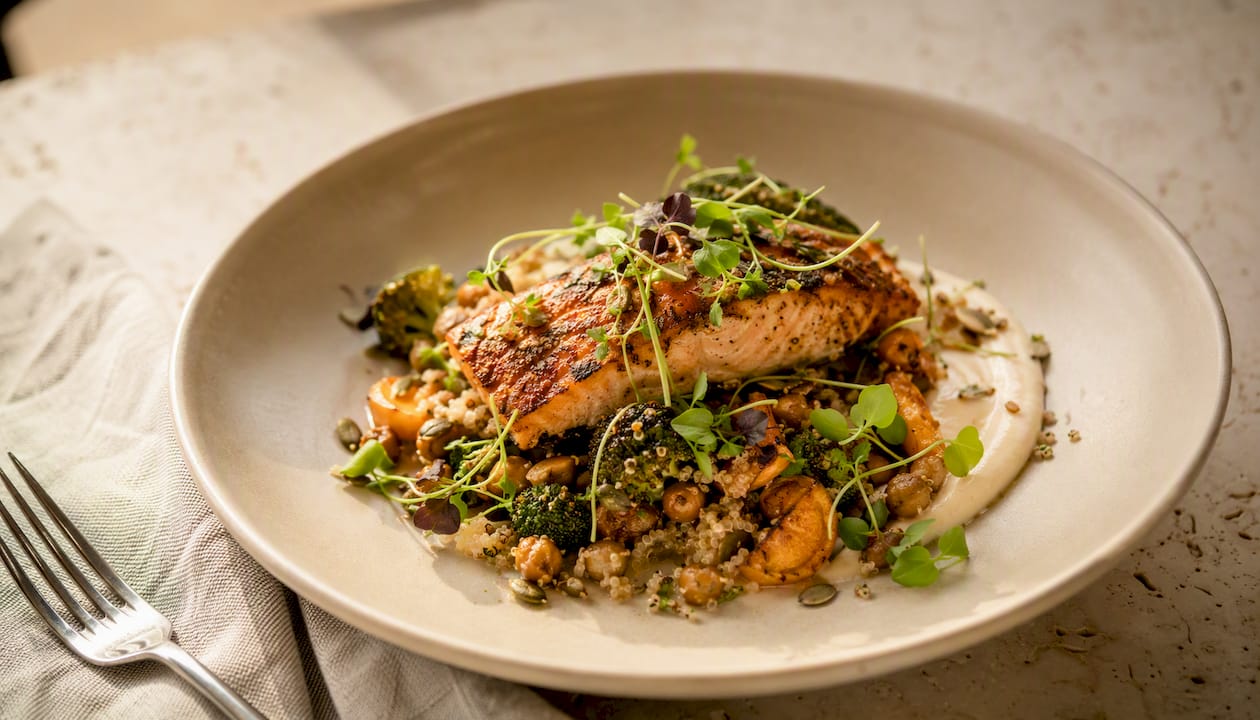
Pro Tip: For casual menus, use matte ceramic plates in off-white or charcoal — they photograph cleanly without glare. For fine dining, dark slate or black matte plates make sauces and garnishes pop.
Which camera and smartphone settings produce the sharpest menu photos?
A modern smartphone, used correctly, produces images good enough for delivery apps, websites, and even printed menus. The settings matter more than the device.
Smartphone checklist:
Disable auto-HDR (it over-processes food tones)
Tap the hero ingredient to set focus and exposure there
Slightly lower the exposure slider after tapping to avoid blown highlights
Use portrait mode for isolated plates; switch it off for group dishes or overhead shots
Shoot in RAW if your phone supports it — it gives far more latitude in editing
DSLR or mirrorless starting points:
Focal length: 50mm or 85mm equivalent (avoids distortion)
Aperture: f/2.8–f/4 for isolated plates, f/5.6 for group dishes where you need more in focus
ISO: keep below 800 to avoid grain
Shutter speed: 1/100s or faster to prevent motion blur from hand tremor
Stability is underrated. A cheap tripod or a phone clamp on a gorilla mount keeps every frame sharp and gives you consistent framing across the batch. Steady shots also reduce noise, which means cleaner crops when you export for thumbnail-sized delivery app images.
Pro Tip: Set white balance manually to Daylight (approximately 5500K) rather than leaving it on Auto. Auto white balance shifts between shots and makes batch editing far harder.
How do you edit and export menu photos for every platform?
Editing should polish, not fabricate. DoorDash and Snappr both recommend light post-production that preserves accurate colors and portion appearance. The editing checklist:
Adjust exposure so the dish is bright but not blown out
Correct white balance to match the actual dish color
Add slight contrast and clarity to make textures pop
Lift saturation modestly — enough to make food look fresh, not neon
Never liquify, clone out ingredients, or enlarge portions
Create one Lightroom or Snapseed preset after editing your first dish, then apply it to every image in the batch. Consistency across the batch builds a unified brand look that speeds up the guest’s scan-and-order decision.
Export specs by channel:
Print menus: 300 DPI, CMYK color space, save as TIFF or high-quality JPEG
Website and digital menus: sRGB, 1200–2000px on the long edge, JPEG at 80–85% quality
TV/menu boards: Full HD (1920×1080) minimum, 4K (3840×2160) preferred, sRGB
Delivery apps: shoot a master high-resolution file and export platform-specific crops — Uber Eats and DoorDash each have distinct aspect ratio requirements, so check their current merchant portals before uploading
File naming matters at scale. Use a format like dish-slug_platform_crop.jpg (e.g., truffle-burger_doordash_square.jpg) so uploads go to the right place without guesswork.
Key stat: Delivery platforms most often reject images for wrong aspect ratio or unreadable thumbnails. Shooting with crop-safe framing and testing at thumbnail size during the shoot prevents the majority of those rejections.
How does the right photo change across delivery apps, websites, and social media?
Each channel has a different job, and one master file can serve all of them if you plan the shoot with that in mind.
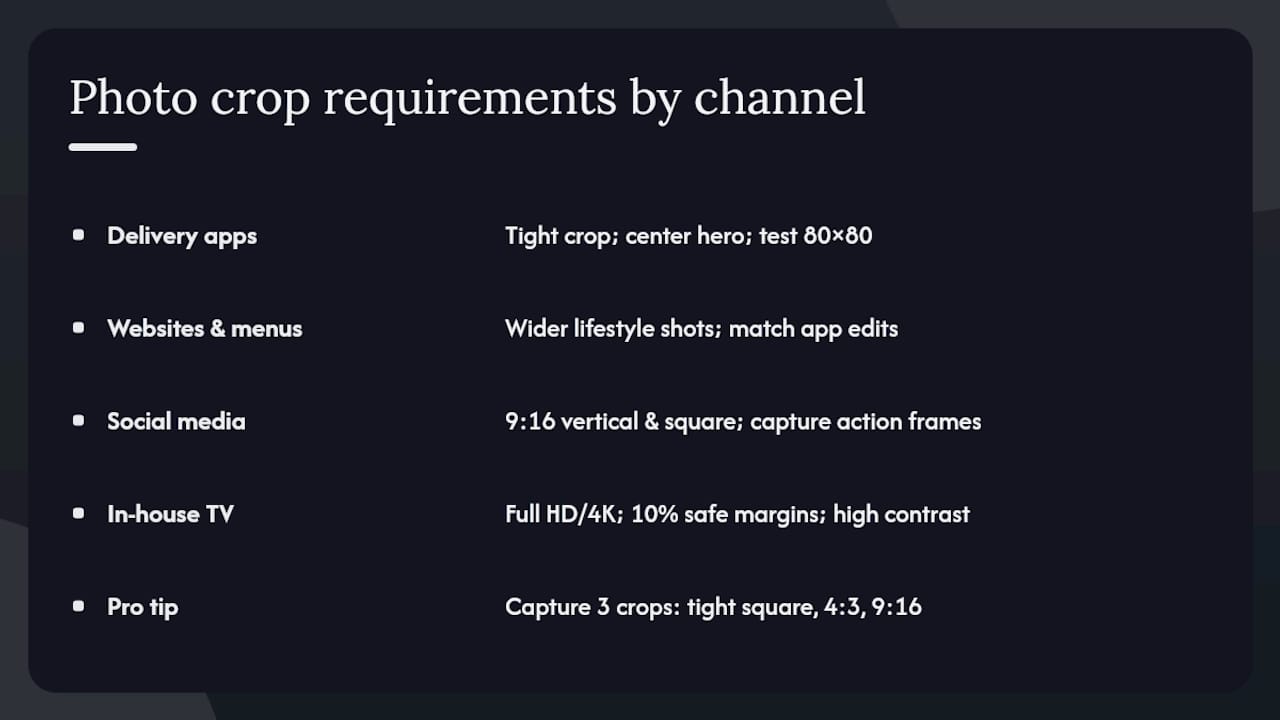
Delivery apps (Uber Eats, DoorDash): fill the frame tightly with the dish, keep the hero ingredient centered and away from edges, and test every image at thumbnail size on your phone before uploading. A gorgeous wide shot becomes an unrecognizable brown blur at 80×80 pixels. Shooting multiple crops per dish during the session means you never have to reshoot just because a platform changed its specs.
Websites and digital menus: you have more creative latitude here. Wider lifestyle shots, a hand reaching in, a sauce pour — these work well on a homepage or category header. Keep the editing preset consistent with your delivery app images so the brand feels unified.
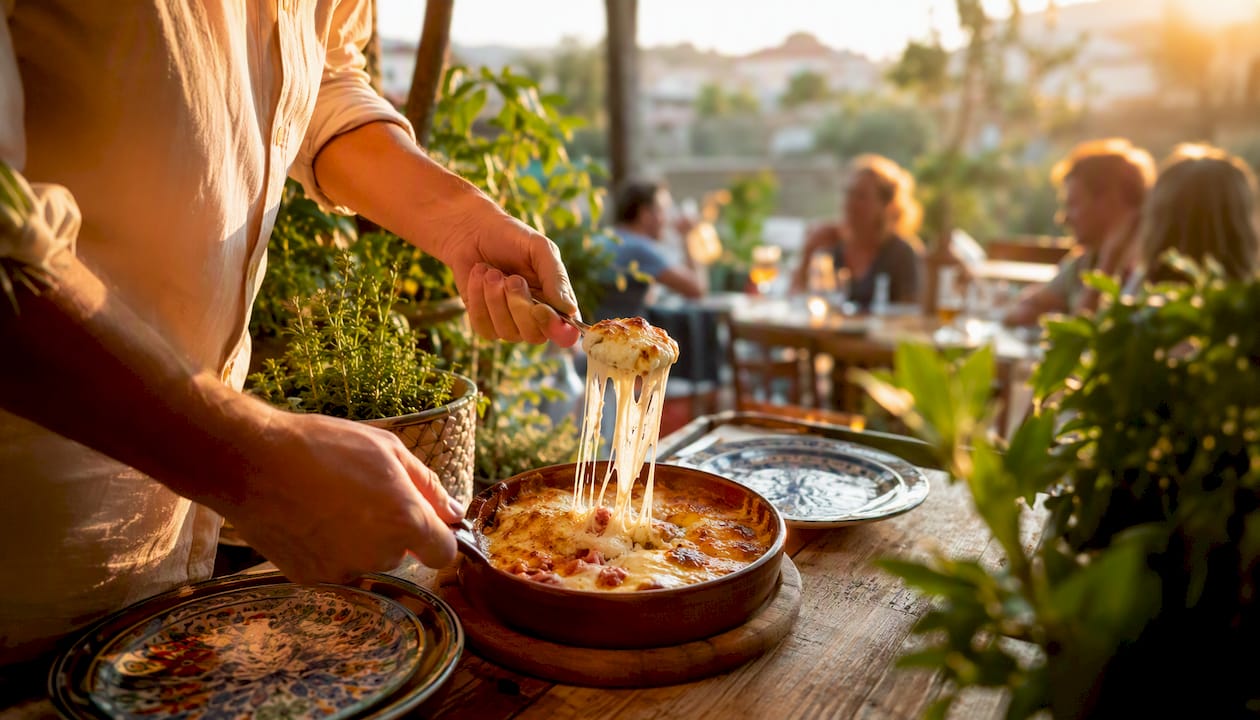
Social media: vertical crops for Reels and TikTok, square for feed posts. Drama and motion sell here — a cheese pull, a cocktail being poured, steam rising from a bowl. Capture a few action frames during the shoot while the food is still fresh.
In-house TV and menu boards: export at Full HD or 4K, leave generous text-safe margins (at least 10% from all edges), and favor high-contrast compositions. A delicate, low-contrast plating that looks elegant in print can disappear on a backlit screen.
Pro Tip: During the shoot, capture at least three crops per priority dish: a tight square, a 4:3 landscape, and a 9:16 vertical. It takes 90 extra seconds per dish and eliminates every platform-specific reshoot.
What common mistakes make menu photos hurt sales instead of help?
The most damaging mistake is a photo that sets an expectation the kitchen can’t meet. Uber Eats explicitly requires that submitted photos accurately represent the dish — wrong portion sizes or missing components are grounds for removal. Beyond platform compliance, a guest who receives a dish that looks nothing like the photo is a one-star review waiting to happen.
Avoid these high-impact errors:
Mixed lighting: fluorescent overhead plus window light creates a color cast that no preset can fix cleanly
Inconsistent backgrounds: switching surfaces mid-batch makes the menu look assembled from different restaurants
Extreme close-ups: macro shots of a single ingredient lose context and read as unrecognizable thumbnails
Stale food: shoot within 90 seconds of plating; wilted greens and congealed sauces read as unappetizing even in a well-lit frame
False props: glycerin pools to simulate condensation, glued garnishes, or oversized portion arrangements that guests will never receive
Pro Tip: Before uploading any image, run three quick checks: shrink it to thumbnail size on your phone (does the dish still read clearly?), compare the color to the actual dish under normal light (does it match?), and check the plate rim (is it clean in the frame?).
How to plan and run a 90-minute menu photo session
A structured shoot produces more usable images in less time than an improvised one. FoodPhoto.ai’s 90-minute SOP breaks the session into five stages that work for a solo owner with a smartphone or a hired photographer with a full kit.
Step-by-step session plan:
Pre-shoot (15 min): finalize a one-page style guide (background, angle per category, lighting setup, props) and a prioritized shot list ordered by sales rank
Setup and test plate (10 min): build the set, shoot one test dish, review on a larger screen, and lock settings before touching any real food
Shoot (45 min): work category by category, 5–10 frames per dish; review every 10th photo on a tablet or laptop to catch focus or exposure drift early
Winner selection (10 min): pick 2–3 hero images per dish; flag alternates for platform-specific crops
Edit, export, and publish (20 min): apply the batch preset, export by channel, and upload top sellers first
Team roles:
Shooter: handles camera, lighting, and framing
Runner/plater: coordinates with the kitchen, plates dishes, and wipes rims
Editor (can be the same person): applies preset and exports after the shoot
Reshoot cadence keeps the menu current:
Weekly specials: photograph every new special before it goes live
Seasonal refreshes: full reshoot for seasonal menu changes (quarterly for most restaurants)
Top sellers: reshoot any hero item whose photo is more than 12 months old
Pro Tip: Build the shot list in sales-rank order. If the shoot runs long, you’ll have photos of your highest-revenue items and can reshoot the tail end of the menu another day.
How much does professional menu photography cost?
Photographer pricing for food and menu work typically uses half-day and full-day flat rates rather than hourly billing. Industry cost guides indicate that rates vary significantly by market and experience level, but most restaurant owners can expect a half-day package (3–4 hours, 10–20 final edited images) to run between $300 and $800, with full-day packages ranging from $600 to $2,000 or more in major metro markets.
A standard package usually includes prep time, food styling guidance, the shoot itself, basic editing, and final exports in web-ready formats. Print-ready files and platform-specific crops are sometimes billed as add-ons.
When to DIY vs. hire a pro:
DIY makes sense when the menu is small (under 20 items), changes frequently (weekly specials), or the budget is tight
Hire a pro when you’re launching a new brand, operating multiple locations that need visual consistency, or running a high-ticket menu where photo quality directly signals price point
Hiring checklist:
Review their portfolio specifically for food (not just general commercial work)
Confirm they understand platform export requirements for Uber Eats and DoorDash
Clarify usage rights — you need full commercial rights for all channels
Ask for turnaround time and file delivery format upfront
A hybrid approach works well for many operators: shoot in-house for weekly specials, hire a pro for the core menu once or twice a year, and outsource editing presets so in-house shots match the professional batch.
How does a digital menu platform make your photos work harder?
Great photos only drive sales when they’re organized, consistently served, and published to the right channel at the right size. That’s where a digital menu platform earns its place in the workflow. Mydigimenu centralizes your image library so every location pulls from the same approved, correctly cropped files — no more mismatched photos across your website, delivery app listings, and in-house tablet menus.
Rich media in digital menus — photos, videos, and styled layouts — directly increases guest engagement and ordering confidence. Accurate photos also reduce refunds and negative reviews by setting expectations the kitchen can meet. When a guest orders a dish that looks exactly like the photo, trust compounds over time.
Practical ways to use the platform for photo management:
Store multiple crops per dish (square, 4:3, 9:16) and assign each to the correct channel automatically
Apply a style guide at the platform level so new items inherit the correct background and framing rules
Use the platform’s export presets to push updates to delivery app integrations without manual re-uploading
Publish new specials the moment they’re plated and photographed, rather than waiting for a manual menu update
Pro Tip: Use your digital menu platform as the single source of truth for all approved images. When a dish changes, update the photo in one place and every channel reflects it automatically.
When is DIY menu photography enough, and when should you hire a pro?
The honest answer depends on four variables: menu size, how often it changes, how much brand positioning rides on visual quality, and how much staff time you can realistically dedicate to a shoot.
For a neighborhood café with 15 core items and a rotating daily special, a well-lit smartphone setup and a consistent editing preset will produce images that perform well on delivery apps and a digital menu. The menu enhancement guide for managers covers exactly this scenario. The investment is time, not money, and the results can be genuinely strong.
A multi-location group launching a rebrand, a fine-dining restaurant where the photo needs to justify a $45 entrée, or any operator whose menu photos will anchor a paid social campaign — those are cases where a professional photographer pays for itself quickly. The consistency a pro delivers across 60 dishes in a single day is very hard to replicate in-house.
The hybrid model is underused and underrated: hire a pro to shoot the core menu and establish the visual style guide, then use that guide for in-house shoots of weekly specials and seasonal additions. You get professional-grade consistency without paying for a full reshoot every time the menu changes.
Mydigimenu turns your menu photos into a managed, multi-channel asset
Photographing great dishes is only half the work. Getting those images to the right platform, at the right size, with consistent edits across every location — that’s where most restaurants lose time and revenue. Mydigimenu’s digital menu platform gives you a central image library that serves your tablet menus, QR menus, delivery app integrations, and in-house displays from a single source of truth.
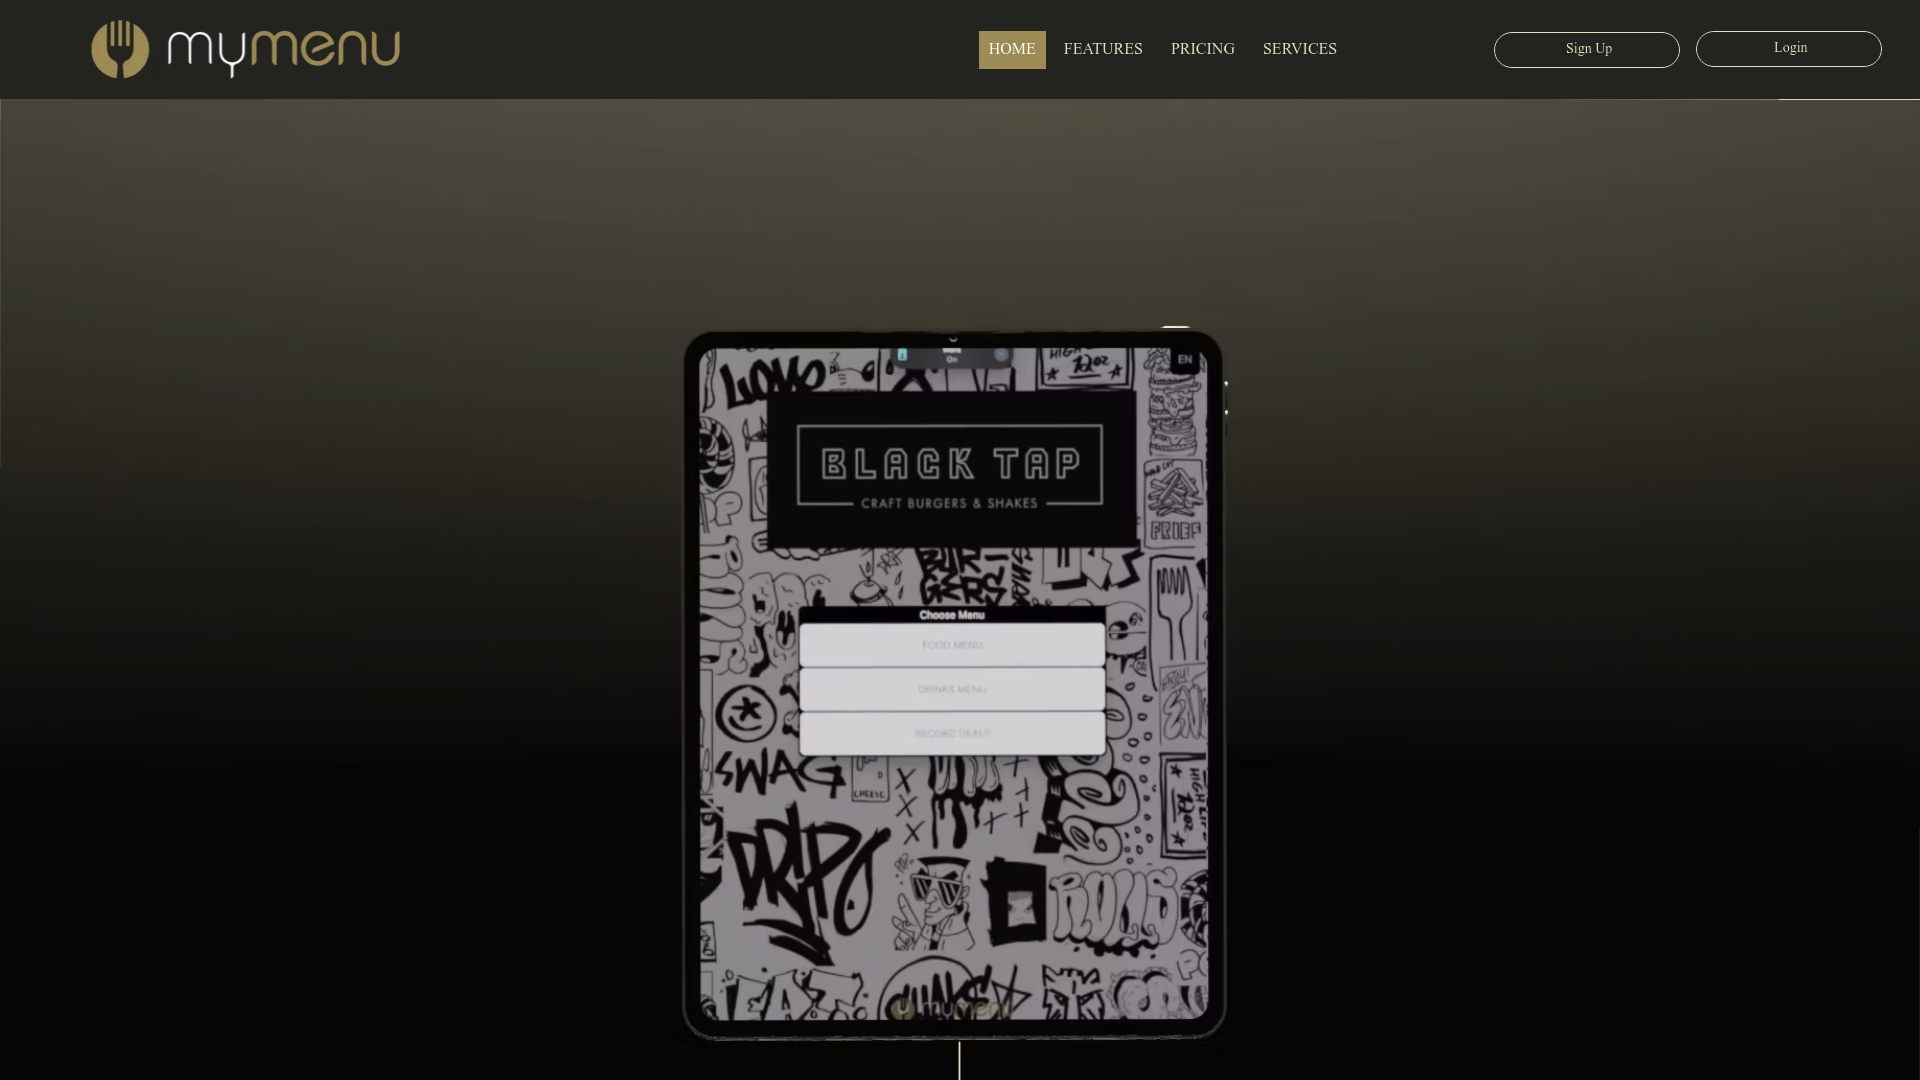
Upload once, publish everywhere. New specials go live the moment they’re photographed, without manual re-uploading to five different platforms. Style guides and export presets are stored at the platform level, so every location and every staff member works from the same approved visual standards. For restaurants ready to stop managing photos by hand, explore Mydigimenu’s plans and see how fast a managed workflow can be set up.
Sources
Recommended
Comments