
Menu Mapping in POS Systems: A Step-by-Step Setup Guide


Menu mapping connects every item on your digital or delivery menu to its matching item in your point-of-sale system using POS IDs, so an order placed anywhere lands in the POS with the right item, the right modifiers, and the right price. Get it wrong, and you get phantom inventory counts or orders stuck in limbo at the kitchen printer.
Run these five steps before you touch anything else:
Select the correct store location and confirm which POS integration is active for it.
Import or sync your current menu data from both systems.
Run the platform’s auto-match tool to connect the obvious pairs.
Sort by confidence score and manually resolve the lowest-confidence matches first.
Run a single-item test order, then a basket test, before you publish live.
Done correctly, every order injects into the POS with accurate item and modifier IDs, and inventory decrements exactly as expected. Pro Tip: Treat mapping as a live system, not a one-time task. Menus change weekly. Your mapping process needs to keep pace.
TL;DR:
Successful menu mapping requires confirming the correct store location, data ownership, and running a full auto-match with confidence-based manual triage.
Parent, child, and modifier items must all be connected correctly, with proper POS IDs, prices, and visibility flags, to avoid order and inventory errors.
Auto-match tools work best with consistent naming conventions and should be followed by thorough testing of single items and full baskets before going live.
Regularly updating, auditing, and re-mapping menus is necessary due to weekly menu changes and to prevent discrepancies during busy service hours.
Staged rollouts and detailed change logs minimize risks when publishing menu updates across multiple locations.
Table of Contents
Menu Mapping POS Setup: The Core Workflow Checklist
Most mapping failures trace back to a skipped step, not a broken system. Follow this order every time you set up or audit a mapping session:
Log into the management console and select the correct store and its associated POS integration. Multi-location operators often lose time here by mapping against the wrong store profile.
Confirm data ownership. Decide up front which system is the source of truth for price, availability, and item descriptions. Conflicting ownership is the single most common cause of stale menu prices.
Run automated matching, then immediately sort results by confidence and address the weakest matches first, before reviewing anything the system is already confident about.
Map parent items first, then verify every child item and modifier is actually connected. A parent connection does not guarantee its modifiers followed along, per Partech’s step-by-step mapping guide.
Run a single-item acceptance test, then a basket test, before you push anything to a live, customer-facing menu.
Skipping step 5 is how a restaurant discovers a modifier bug during Friday dinner rush instead of during setup.
What Are the Building Blocks of a Mapped Menu?
Every POS organizes menu data the same general way: menus break into groups, groups break into subgroups, subgroups contain items, and items carry modifier groups with individual modifiers attached. This hierarchy is standard across most menu builder platforms, and mapping has to respect every layer, not just the top-line item name.
Each item you map needs several fields populated correctly on the POS side:
POS item ID, the unique identifier the register actually reads.
SKU or barcode, when inventory tracking depends on it.
POS button name or nickname, which often differs from the customer-facing menu name.
Price and tax class, since a tax class mismatch can silently overcharge or undercharge a customer.
Prep station routing, so the ticket prints where it should.
Visibility and availability flags, which control whether an item can even be ordered at a given time.
Parent and child items both require an active connection. A category can show as “mapped” while its modifiers sit unconnected underneath it, which is exactly the kind of gap that produces an order with no way to specify size or temperature. When a POS genuinely has no equivalent item, you have two choices: create the missing POS item outright, or build a virtual mapping that routes the order correctly without a one-to-one match. Virtual mappings work, but they need documentation, or the next person auditing your menu will assume something is broken.
How Does Auto-Match Actually Work, and Where Does It Fail?
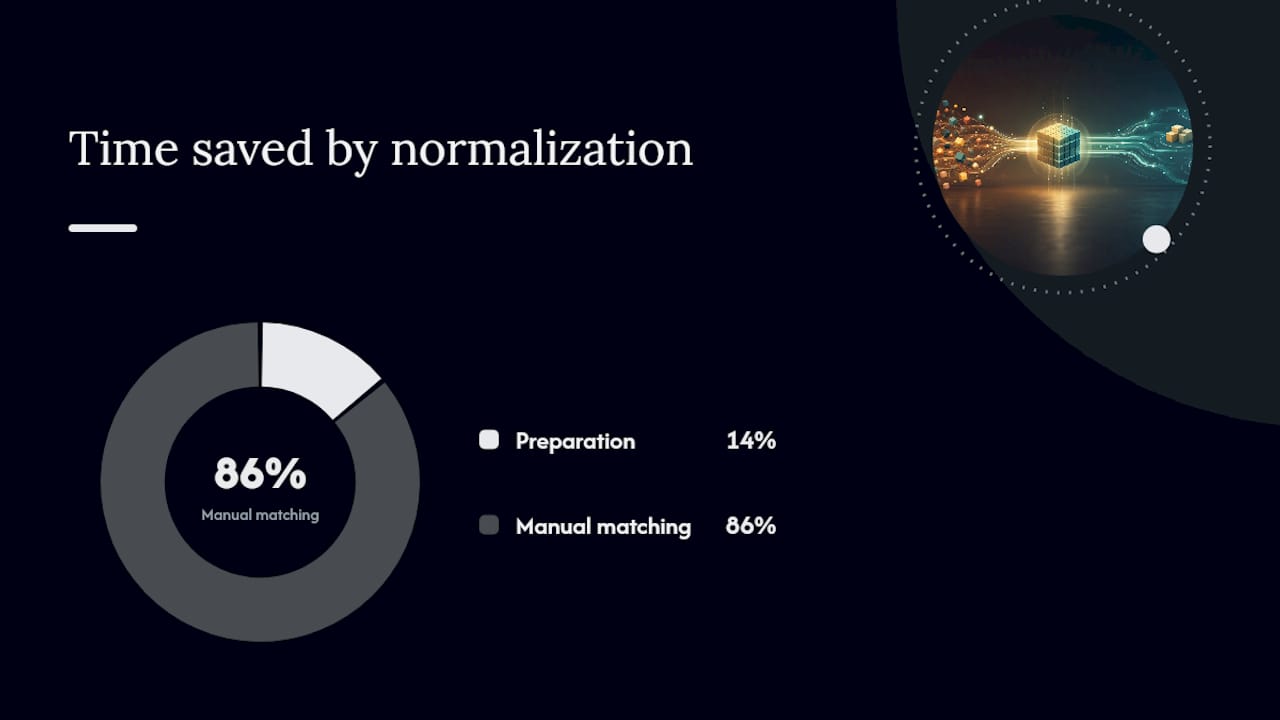
Auto-match tools scan for name similarity and price proximity to guess which delivery or menu item corresponds to which POS item, and they get the easy matches right the large majority of the time. Where they fall apart is naming inconsistency: a POS item labeled “Latte - Large” and a menu item labeled “16oz Latte” describe the same drink, but the algorithm sees two different strings, according to Cuboh’s mapping documentation. Matrix items with size or flavor variants trip up auto-match for the same reason.
The fix is triage, not manual review of everything:
Sort your results lowest confidence to highest and work that list first.
Bulk-apply the high-confidence matches once you trust them, saving manual effort for items that actually need it.
Expand your page size before reviewing, so you’re not clicking through dozens of pages to find the risky entries.
Use search-by-POS-ID when a name search returns nothing useful.
Re-sync after every batch of fixes so the system reflects your corrections before you test.
Pro Tip: Normalize your naming conventions across both systems before you even run auto-match. Ten minutes cleaning up “Lg/Med/Sm” versus “Large/Medium/Small” saves an hour of manual matching later.
How Do You Test a Mapped Menu Before Going Live?
Publishing an unverified mapping to a live menu is how a restaurant ends up with a $0 modifier or an order that never reaches the fryer station. Two tests catch nearly everything before it becomes a customer-facing problem.
Run a single-item acceptance test. Pick one representative item that includes modifiers and a price variant, submit it as a real order into a test store, then confirm the POS received the correct item ID, the correct modifier selections, correct prep routing, and the correct price, a method Olo’s training documentation recommends specifically to limit risk before a wider rollout.
Run a basket test. Build a multi-item order that exercises combos, multiple modifier groups, and different price tiers at once, since some mapping errors only surface when items interact in a single cart.
Check inventory and sales reporting. Confirm the test order decremented stock counts and appeared correctly in your sales report, not just in the POS ticket queue.
If anything fails, stop. Revert the mapping change or pause the publish entirely, and re-test after the fix rather than pushing forward and hoping the next order behaves differently.
Why Do Menu Mappings Break, and How Do You Fix Them Fast?
Most mapping failures fall into a handful of repeat offenders, and knowing the pattern cuts your troubleshooting time considerably.
Unmapped modifiers or modifiers assigned to the wrong entity type. A modifier group tagged as a standalone item, for instance, won’t attach to its parent correctly.
Price syncs mid-shift. Running a POS mapping update during live service can clear prices entirely and invalidate active cart instances, according to Partech’s mapping guide, which is exactly why timing matters as much as accuracy.
Duplicate names or SKU collisions. Two items sharing a name or code will resolve to whichever one the system finds first, and it’s rarely the one you intended.
Connectivity gaps across mixed store setups. A brand running some integrated and some non-integrated locations needs separate verification for each, since a fix at one store doesn’t propagate to the other.
The remedy for most of these is mechanical: reassign the correct entity type, create the missing POS item if one genuinely doesn’t exist, reconnect the parent-child relationship, and re-run the sync. Then run your mismatch report again to confirm the fix actually took.
What’s the Safest Way to Publish and Sync Menu Changes?
Publishing a freshly mapped menu to every location at once is how one bad mapping becomes a chain-wide problem. Stage the rollout instead.
Test at a single representative location first. Choose a store with a menu complexity typical of your chain, not your simplest or most unusual outlet.
Roll out in waves, monitoring each wave before moving to the next rather than pushing to all remaining stores simultaneously.
Schedule pushes during low-volume windows, and give floor staff a heads-up beforehand so they’re not troubleshooting a printer issue mid-rush that’s actually a sync issue.
Understand your vendor’s sync behavior. Some systems push changes automatically on a schedule; others require a manual publish. Know which one you’re running, because a manual system that nobody remembers to push is just as broken as a bad mapping.
Monitor after publish. Pull mismatch reports and spot-check sales data for the first several hours after any push, and have a rollback plan ready if the numbers look wrong.
Pro Tip: Keep a simple log of every mapping change and its publish time. When something breaks three hours later, that log is the fastest way to find out what changed.
How Mydigimenu Fits Into Your POS Mapping Workflow
Mydigimenu builds its digital menu structure around the same hierarchy your POS expects: menus, groups, items, and modifier groups, each with dedicated fields for the POS IDs your integration relies on. That structural alignment is what keeps orders and inventory counts honest once a menu goes live.
Specific capabilities that support a clean mapping workflow include:
QR code and tablet menus that share the same underlying item structure as your POS-facing data.
Dedicated modifier group support, so size, temperature, and add-on options map as distinct entities rather than getting flattened into item names.
Staging workflows that let you build and verify a menu change before it touches guest-facing screens.
CRM and order reporting that cross-reference against POS sales data, making mismatches easier to spot early.
A menu that looks correct on a tablet screen means nothing if the POS receives the wrong item ID. The systems have to agree, not just look aligned.
Readers running a Mydigimenu integration can find setup detail on the digital menu and POS integration page for platform-specific field mapping.
What Restaurants Actually Get Wrong About Menu Mapping
Most guidance on this topic treats mapping as a one-time setup task, something you finish during onboarding and never revisit. That’s backwards, and it’s the assumption that causes the most damage. Menus change constantly: seasonal items rotate in, prices shift, a modifier gets added for a new dietary option. Every one of those changes is a fresh mapping event, whether anyone treats it that way or not.

The conventional advice also overweights automation and underweights triage discipline. Auto-match tools are genuinely useful, but treating a high match rate as “done” is how naming inconsistencies like size variants slip through unnoticed for months. The confidence-score sort isn’t a nice-to-have step. It’s the entire point of running auto-match in the first place, because it tells you exactly where to spend your limited manual-review time instead of guessing.
If there’s one habit worth adopting over any other, it’s the single-item acceptance test before every publish, no exceptions, even for what feels like a minor change. A five-minute test order costs almost nothing. A modifier failure during Saturday dinner service costs a lot more than that, and it costs it in front of your customers.
— Abhi
Get Your Menu Structure Right From the Start With Mydigimenu
If you’re setting up mapping from scratch or migrating to a new POS, the fewer moving parts your menu structure has to reconcile, the faster and cleaner that mapping process goes. Mydigimenu is built so your menu groups, items, and modifiers already mirror the structure your POS expects, which means less manual reconciliation and fewer low-confidence matches to triage later.
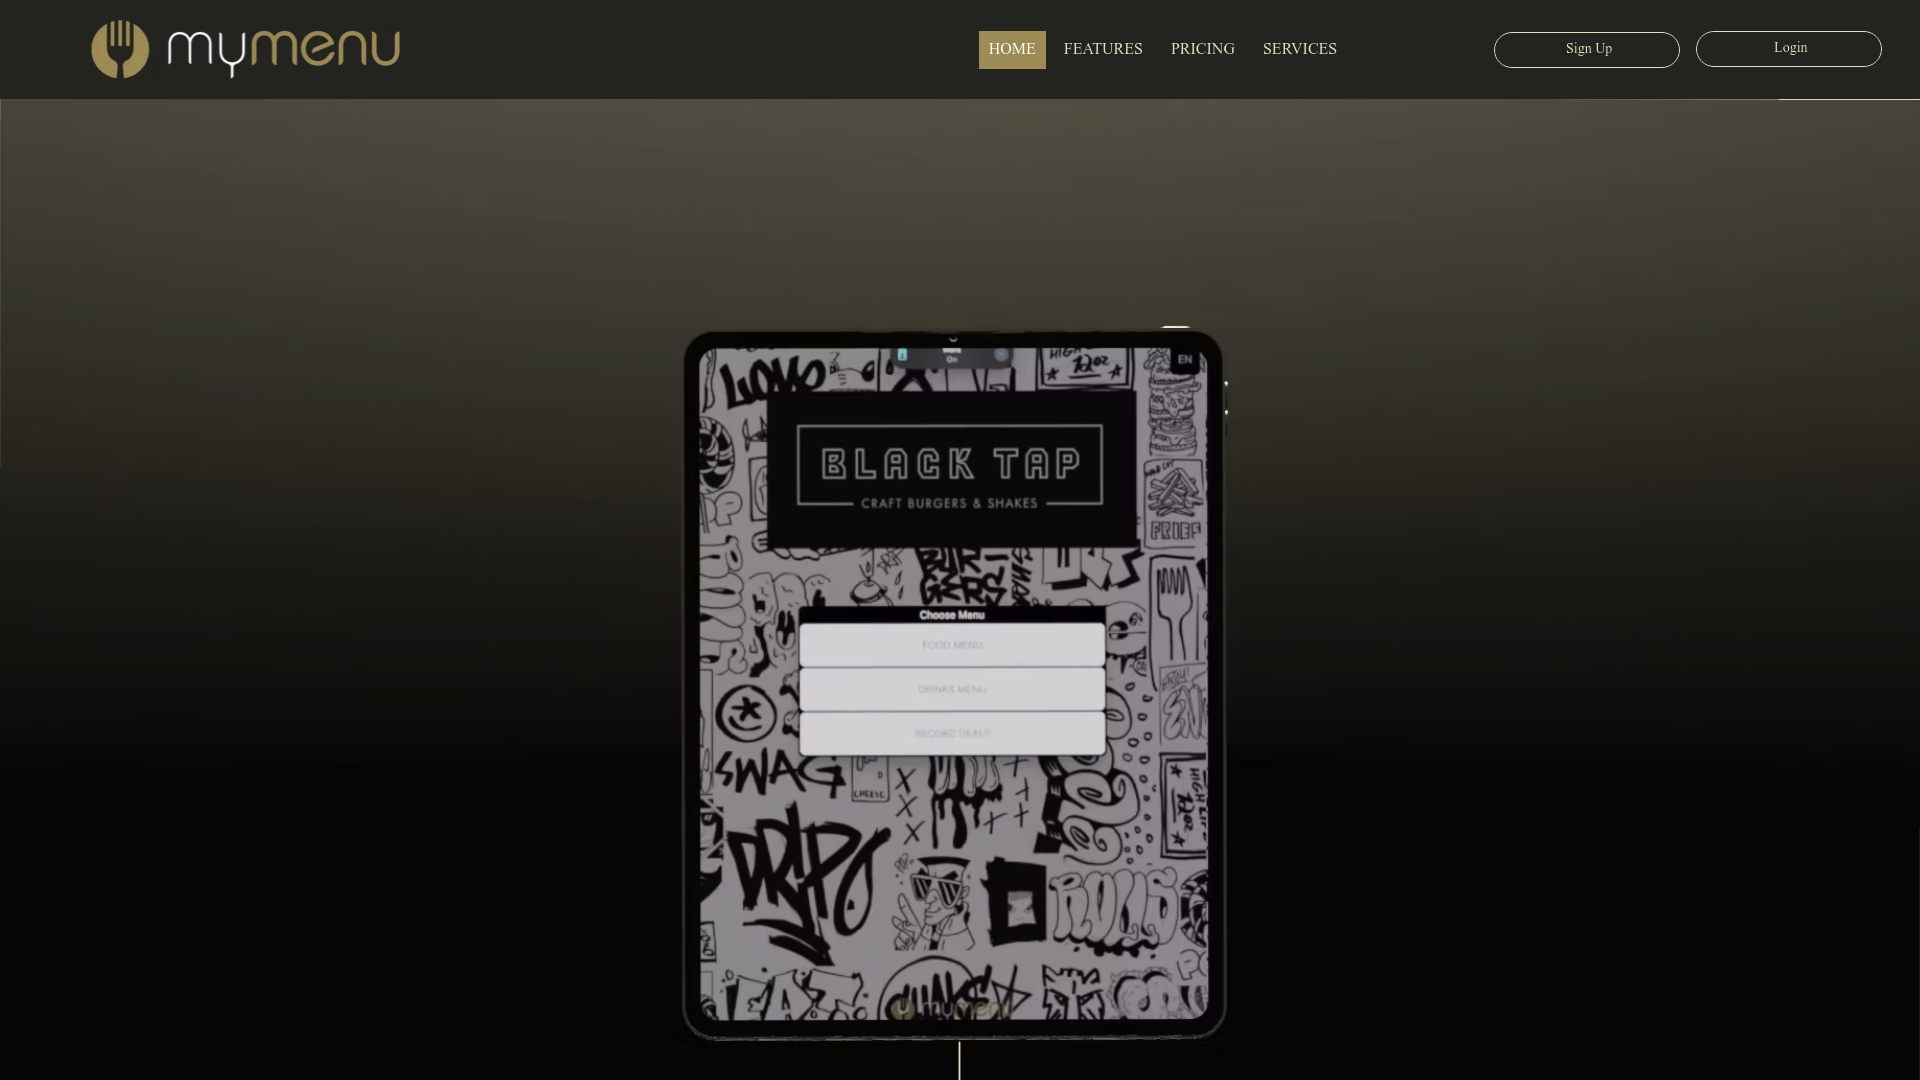
The platform gives you QR code menus, tablet ordering, and online ordering that all draw from the same underlying item data, so a price change or a new modifier group only needs to happen once. Paired with CRM and order reporting that align to your POS sales figures, mismatches surface fast instead of hiding in a monthly reconciliation report. If your team is planning a POS integration or a menu overhaul, start by reviewing the digital menu and POS integration options or set up a QR code menu built to sync cleanly from day one.
Key Takeaways
Accurate menu mapping depends on confidence-score triage and mandatory single-item and basket testing before any live publish.
Point | Details |
Map every layer | Connect menus, groups, items, and modifier groups, not just top-level product names. |
Triage by confidence | Sort auto-match results lowest to highest and fix risky matches before bulk-applying easy ones. |
Test before publish | Run a single-item test, then a basket test, to catch modifier and price errors early. |
Time your syncs | Schedule price and mapping pushes during low-volume windows to avoid clearing live carts. |
Choose aligned platforms | Mydigimenu structures menus around POS-ready fields, reducing reconciliation work during setup. |
Sources
Recommended
Comments